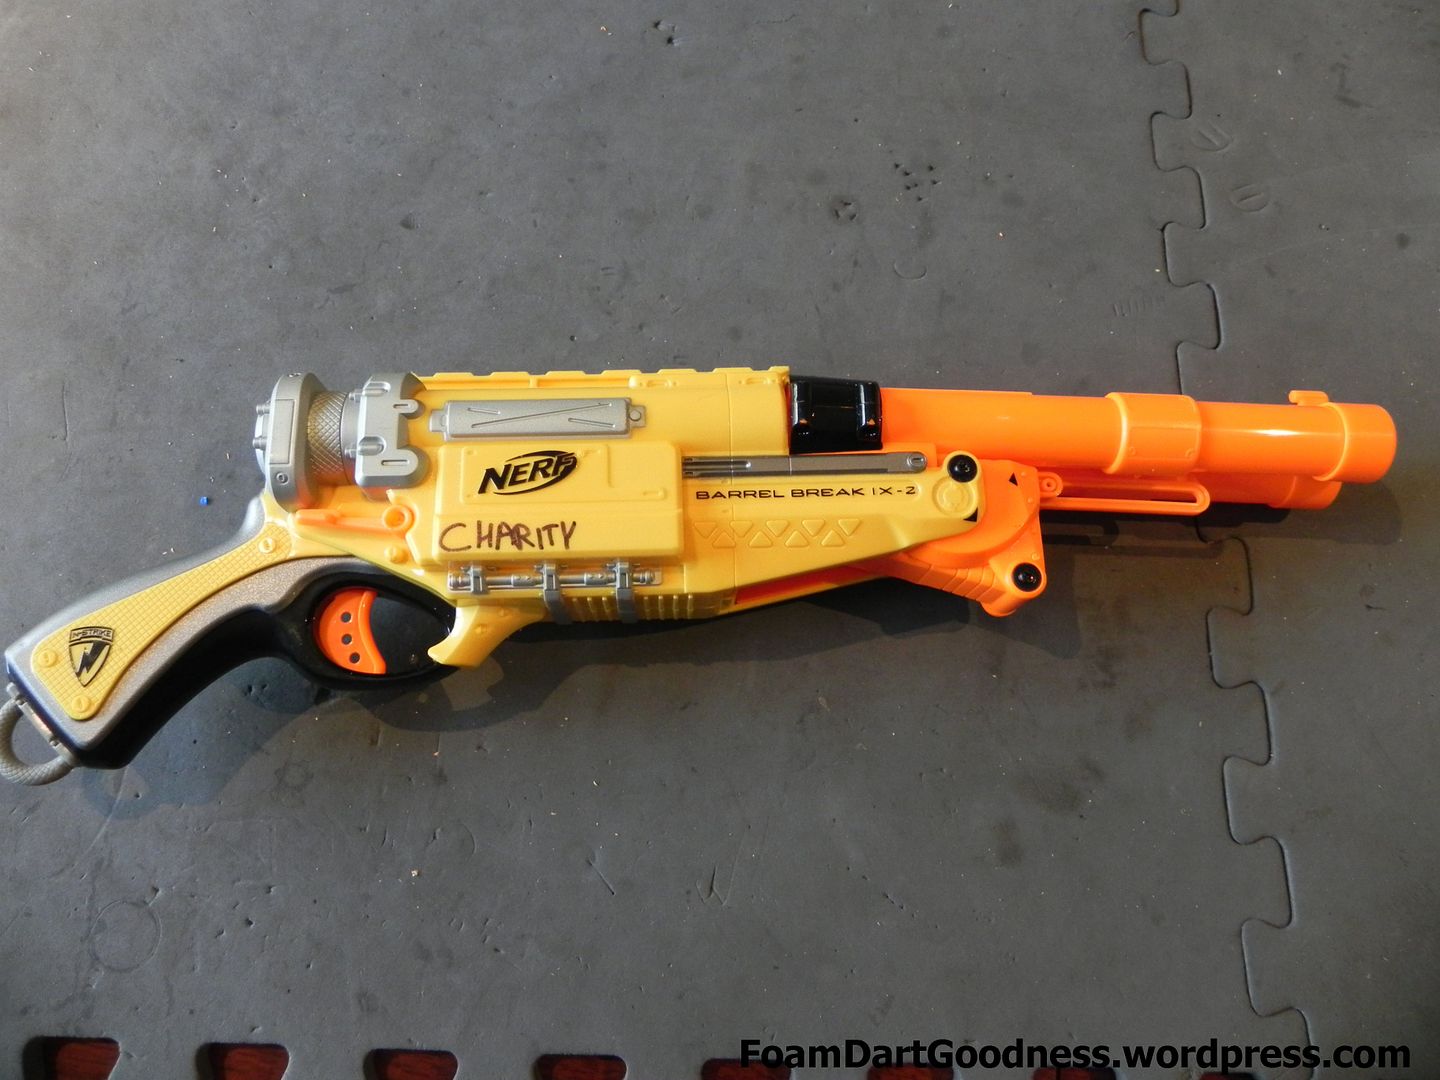
While I sure would have liked to add one to the collection, I mostly did just want to get my hands on one to write a walk through. His was stock and he wasn't overly attached to that fact, so he offered me the blaster to 'borrow and mod'. Wins all round I say.
Today we'll be performing a simple air restrictor removal, or AR removal for short.
_______________________________________________________________________
Tools/Materials required…
Phillips head screwdriver
Drill and assortment of drill bits
Long round hand file
Electrical tape
_______________________________________________________________________
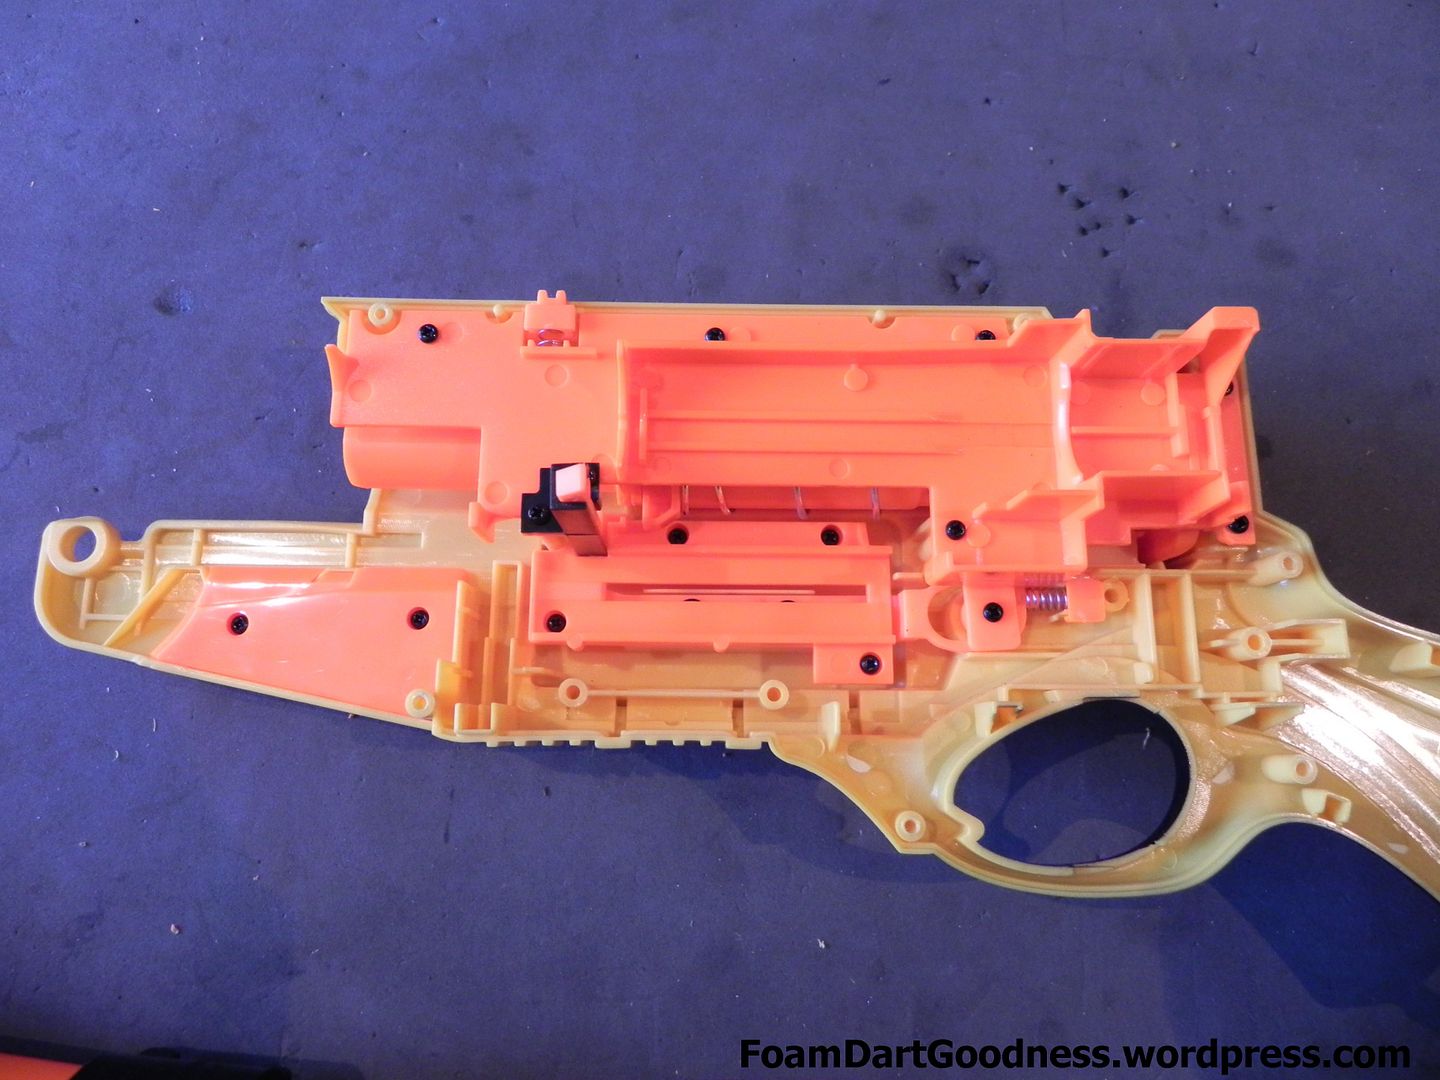
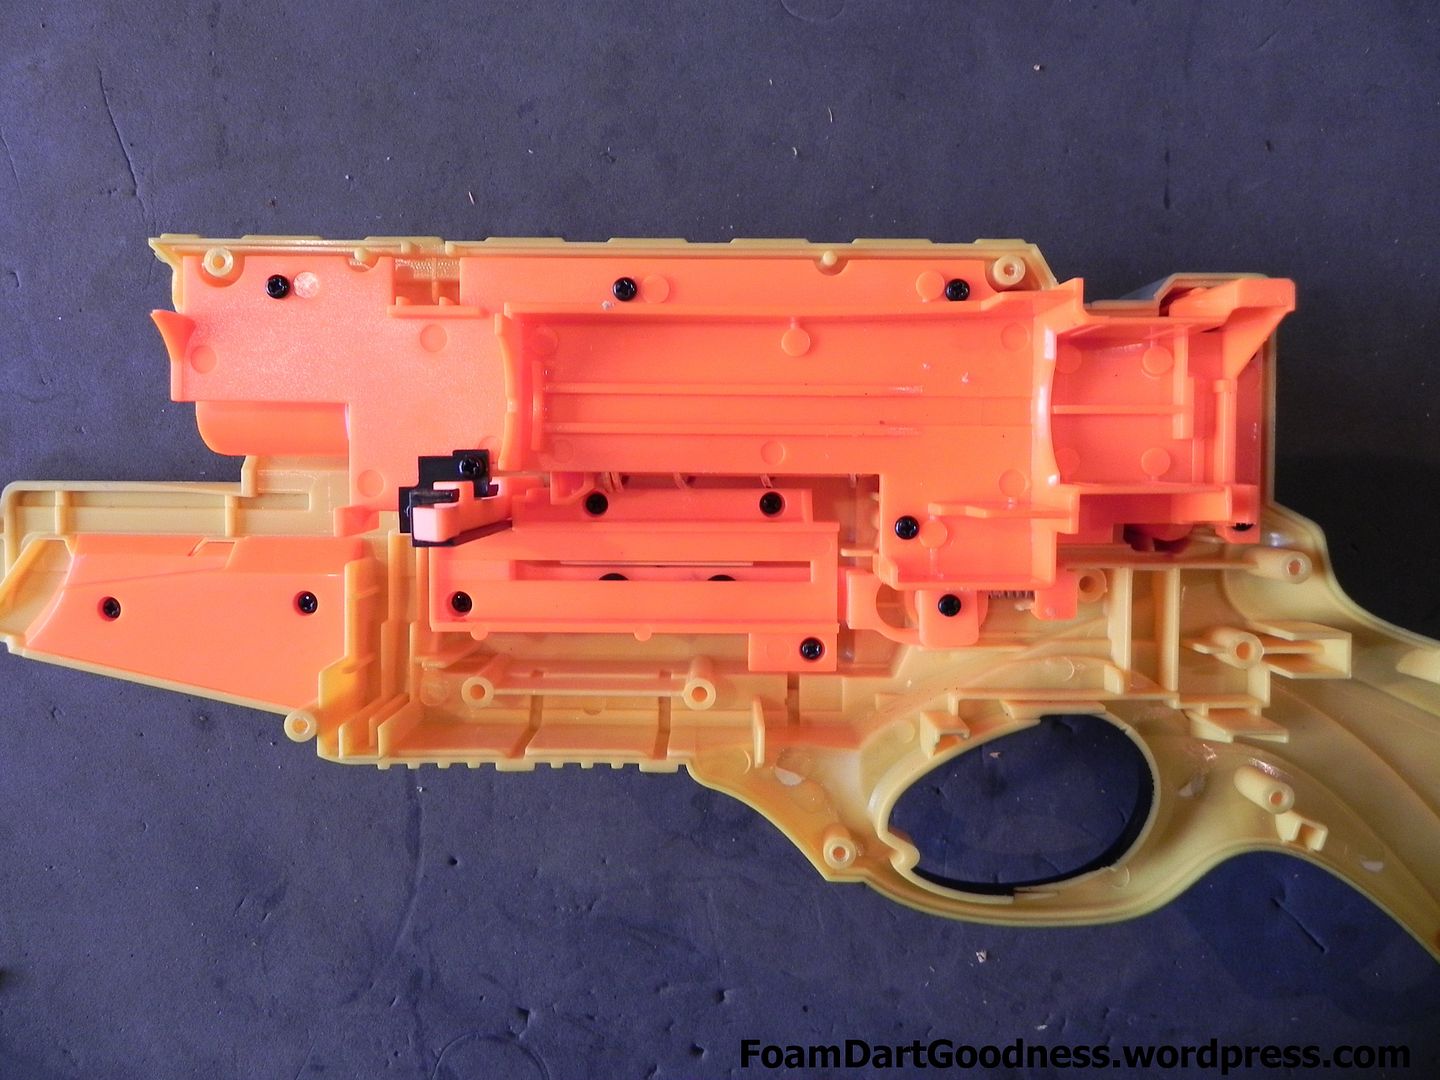
As always, start by opening up the blaster in question.
This is a little different from most other Nerf blasters in that there are a lot of different types of screws.
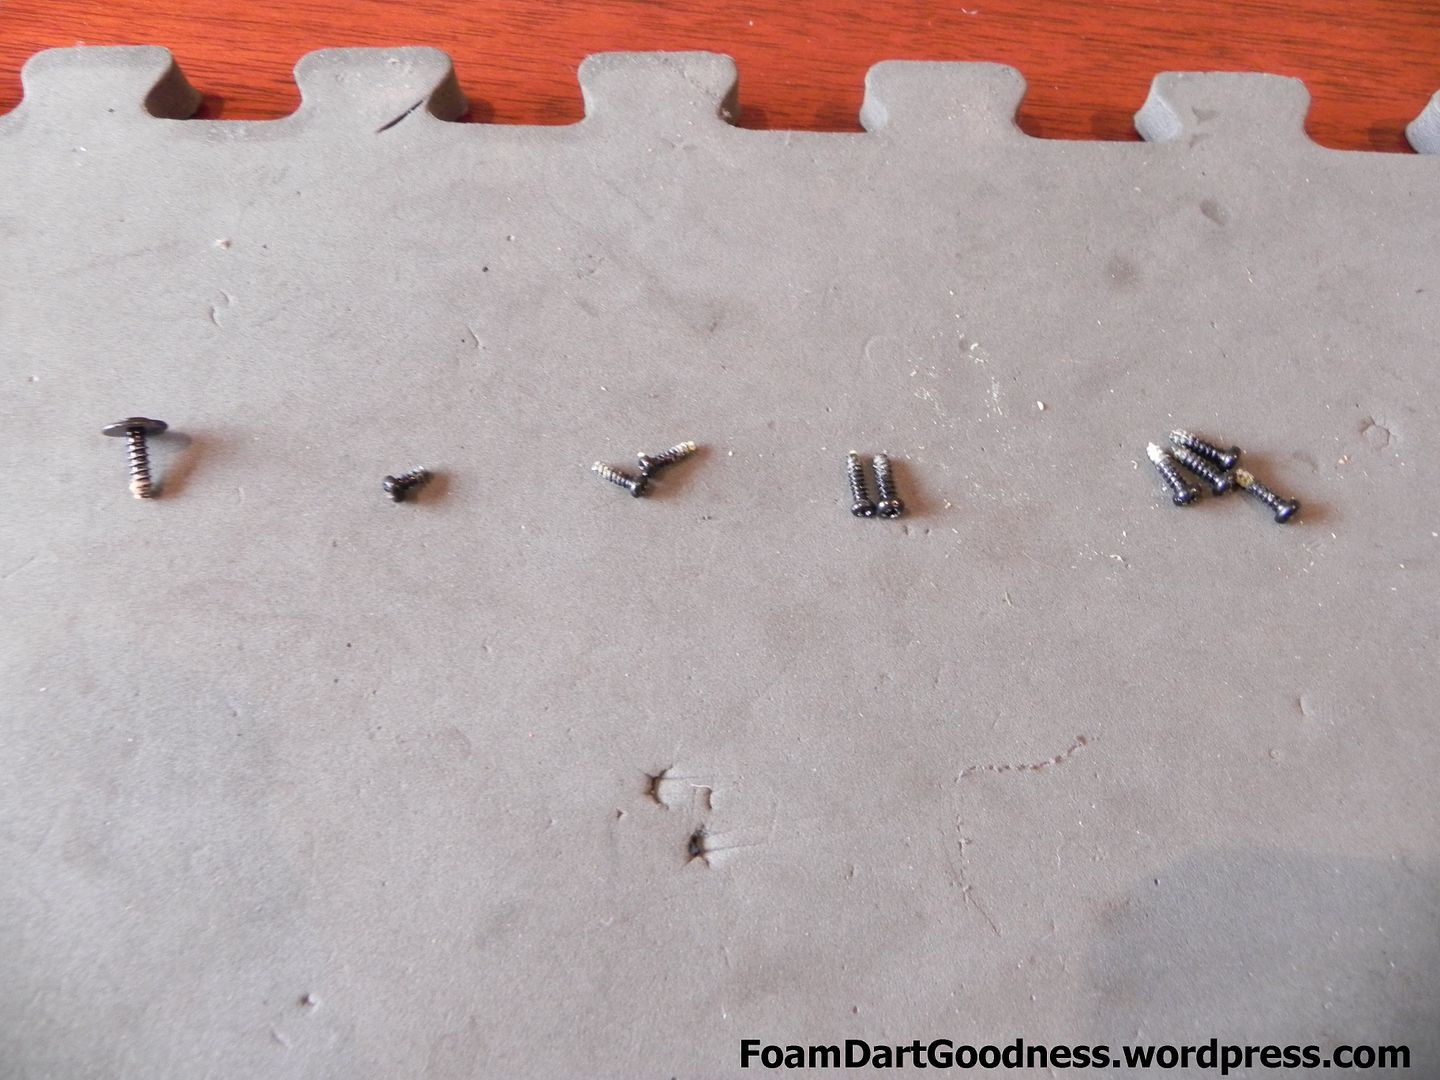
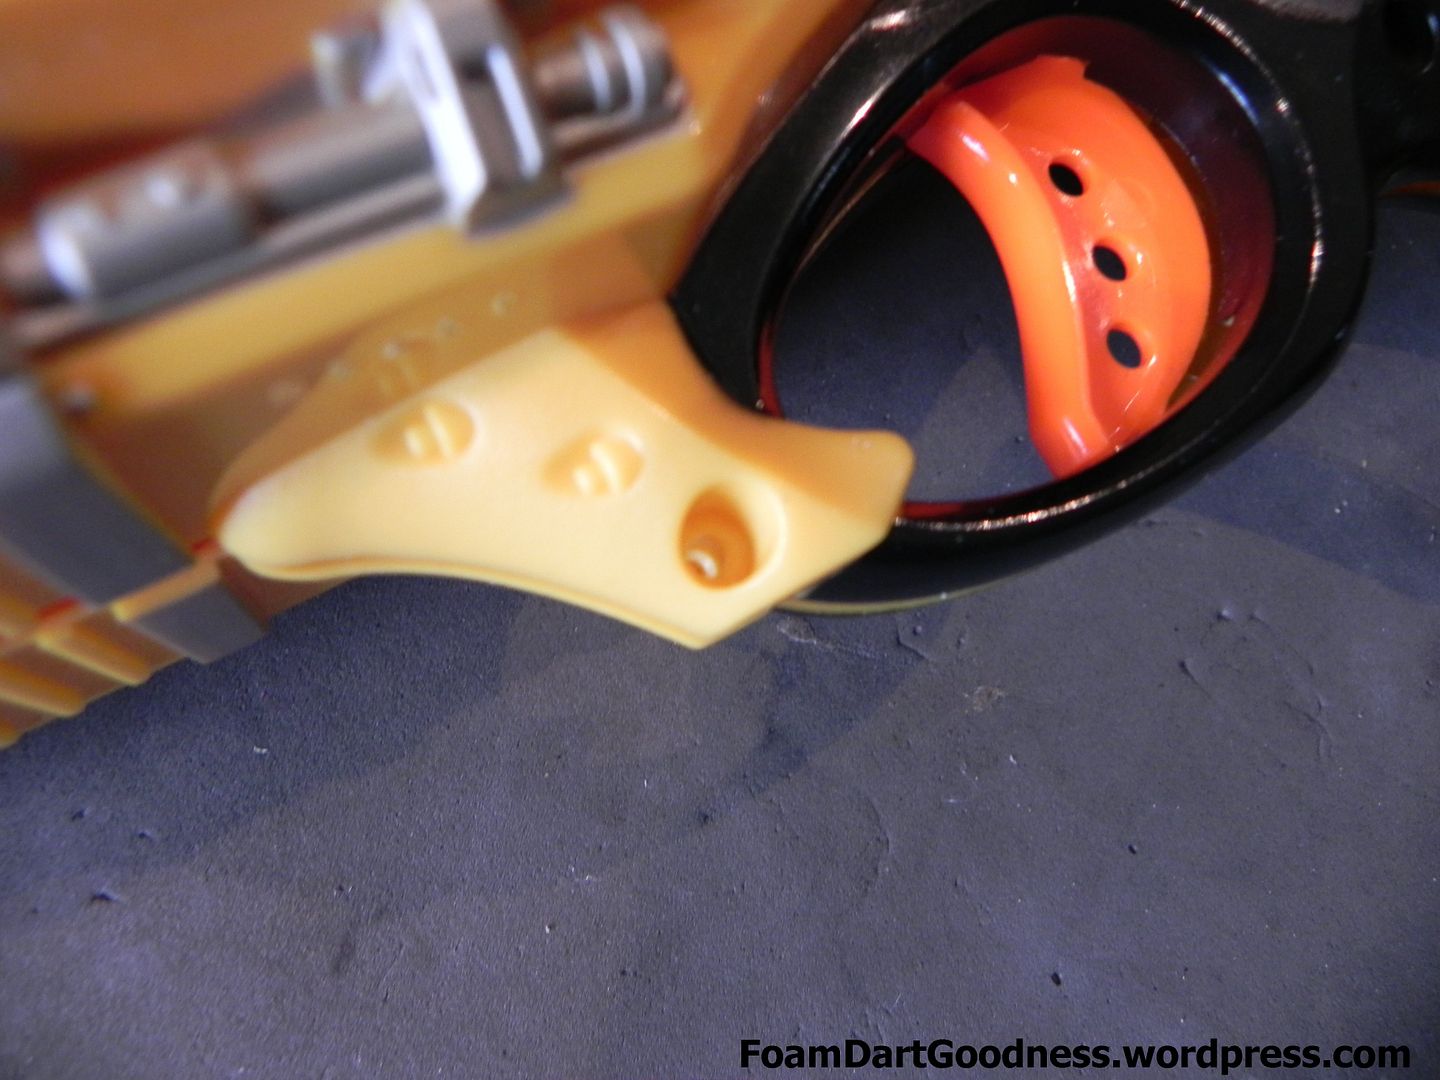
This short fat one went...
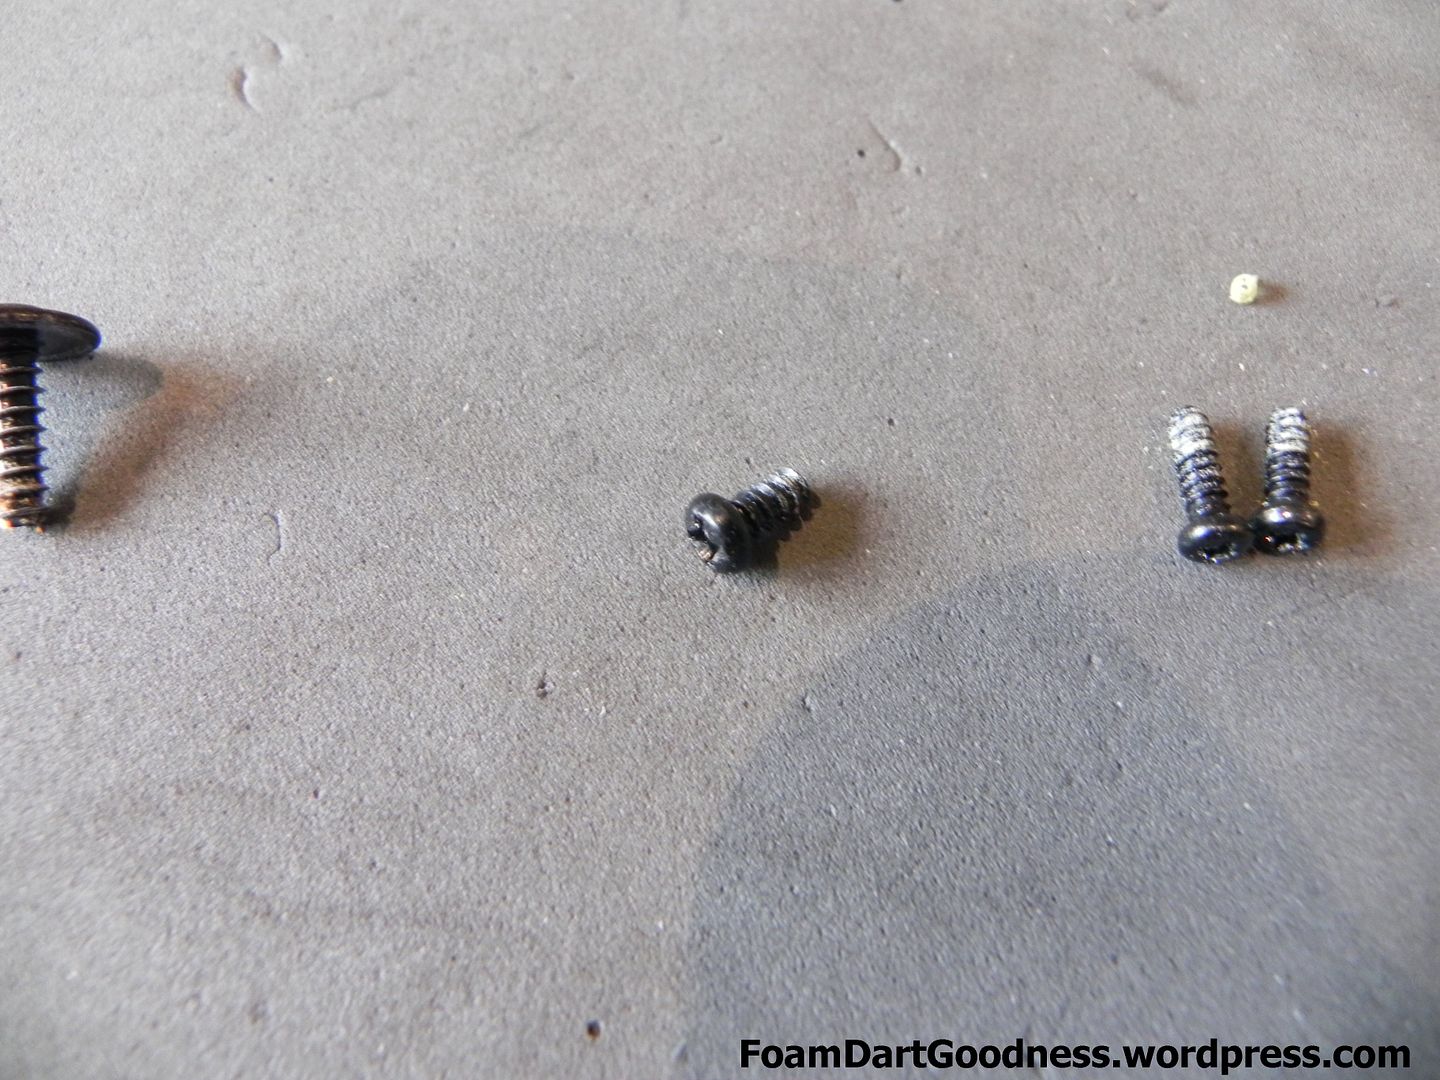
Here, in front of the trigger guard.
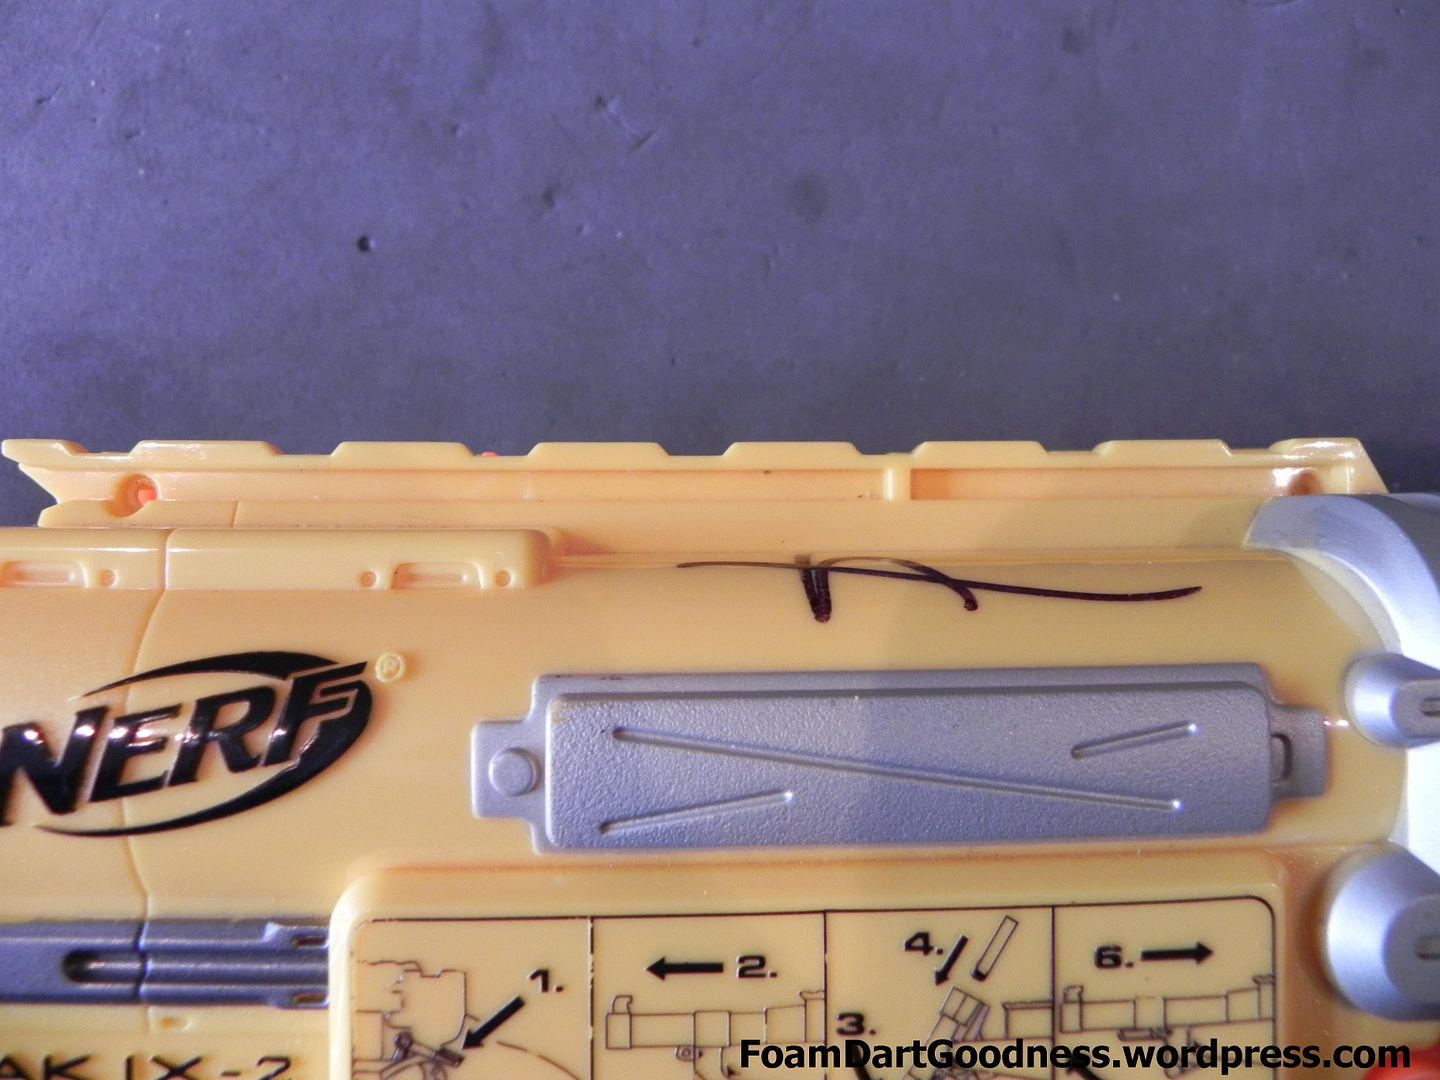
The two short normal width ones went...
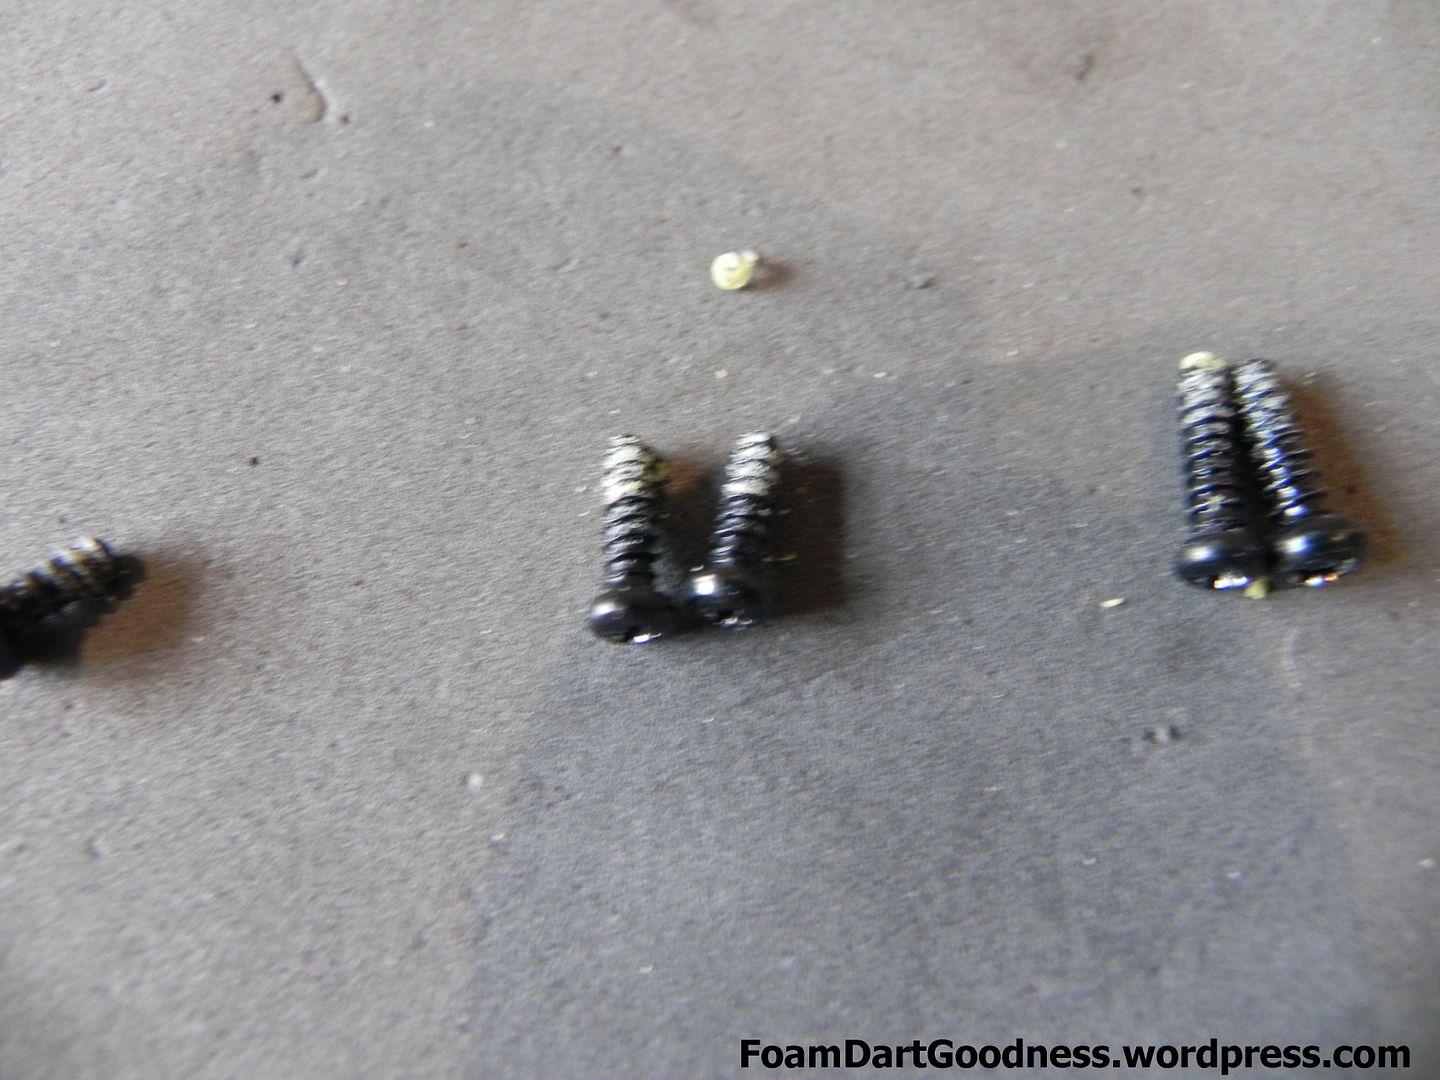
Along the top tac rail here.
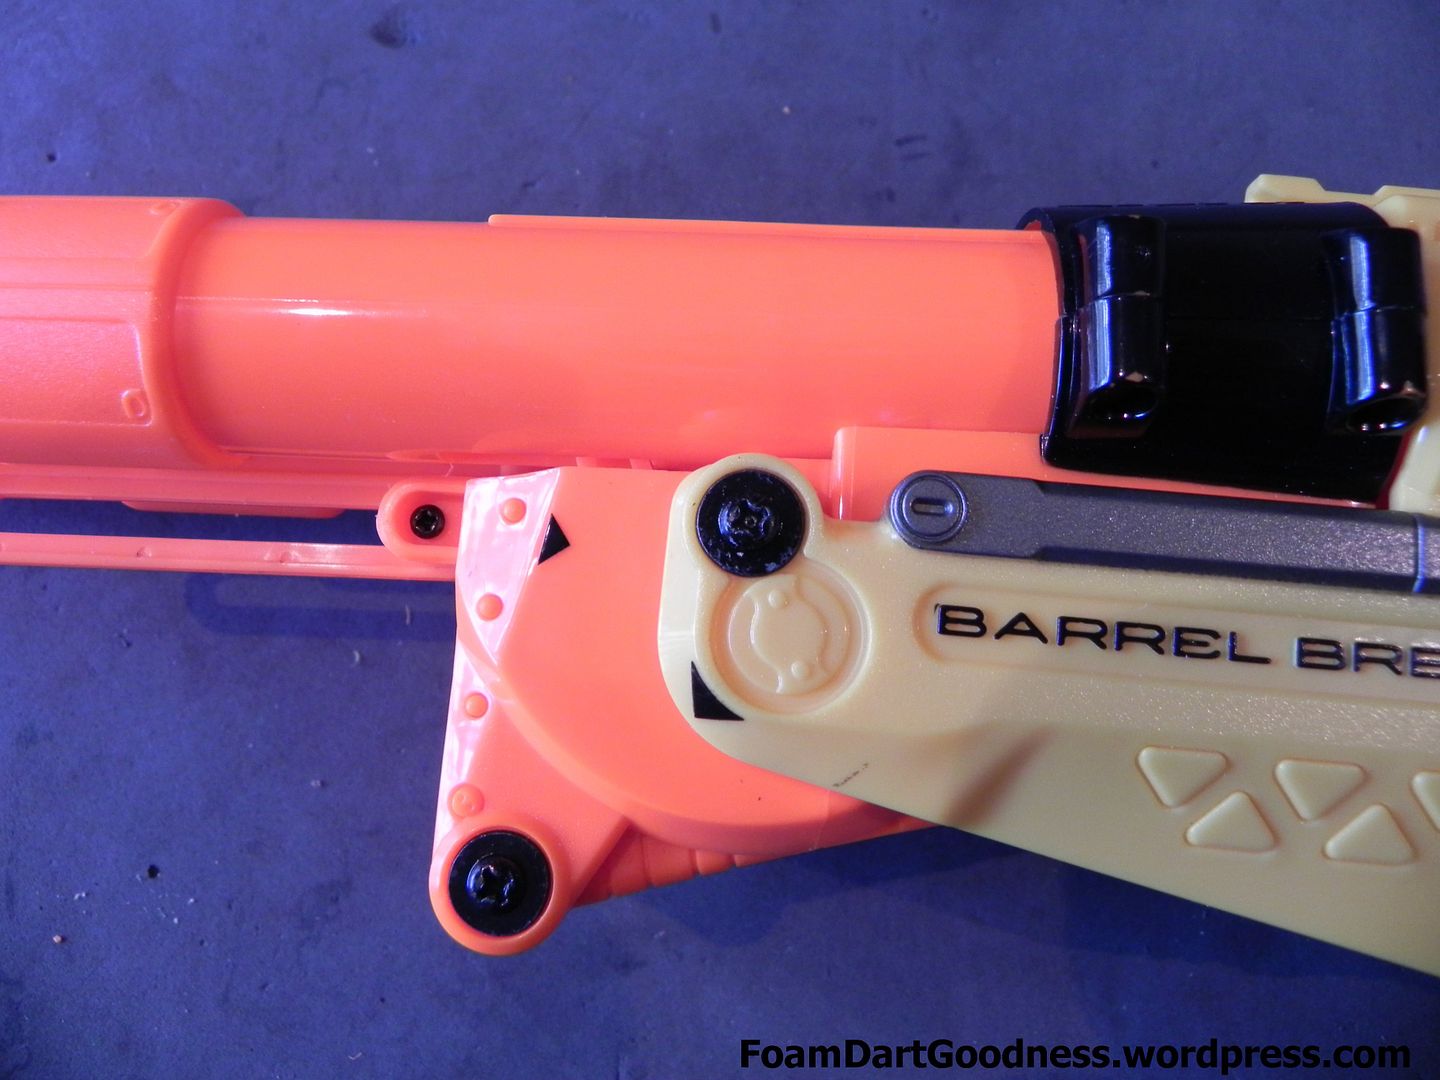
These two longer screws went...
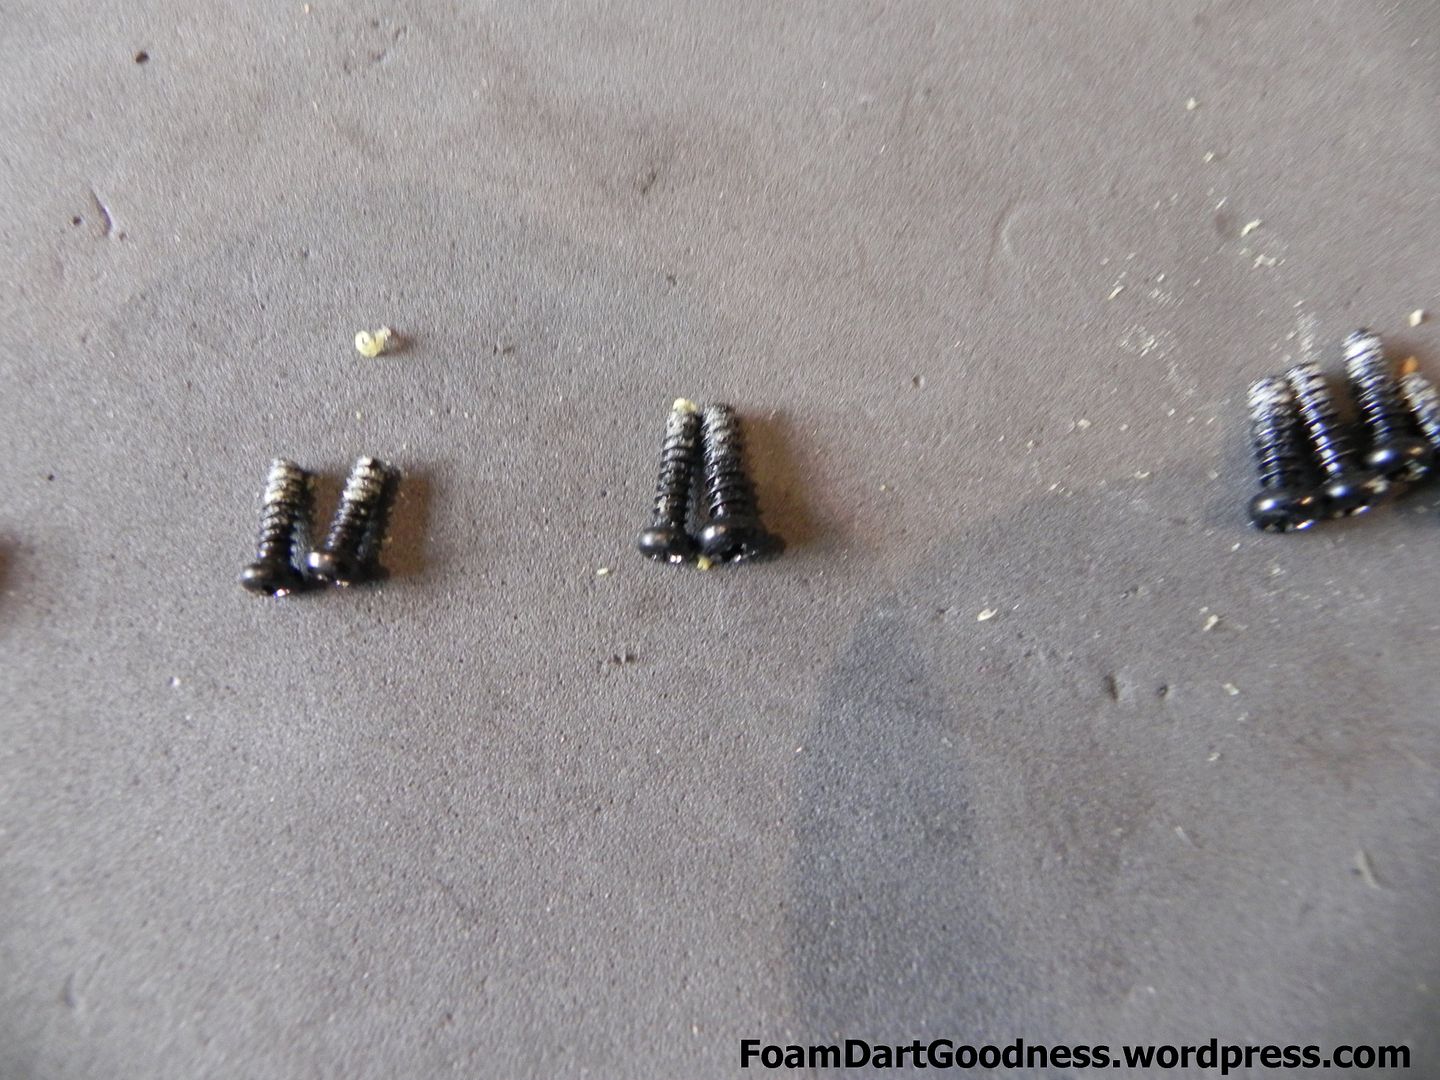
Here at the back of the blaster,
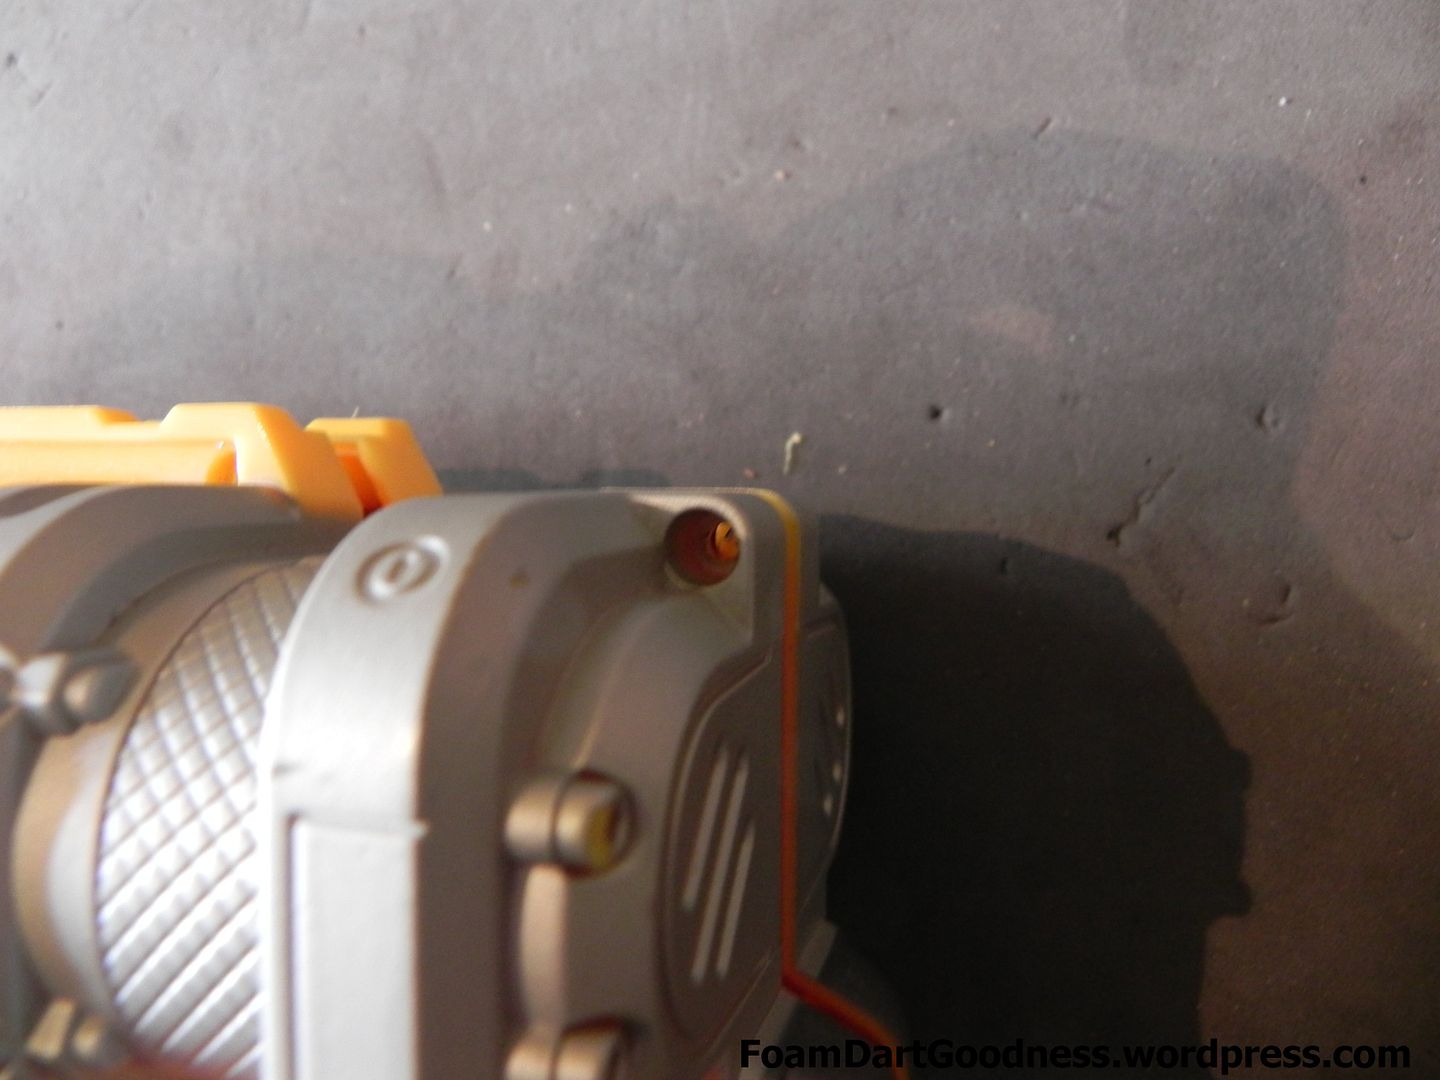
And here, at the underside.
The four regular sized screws went...
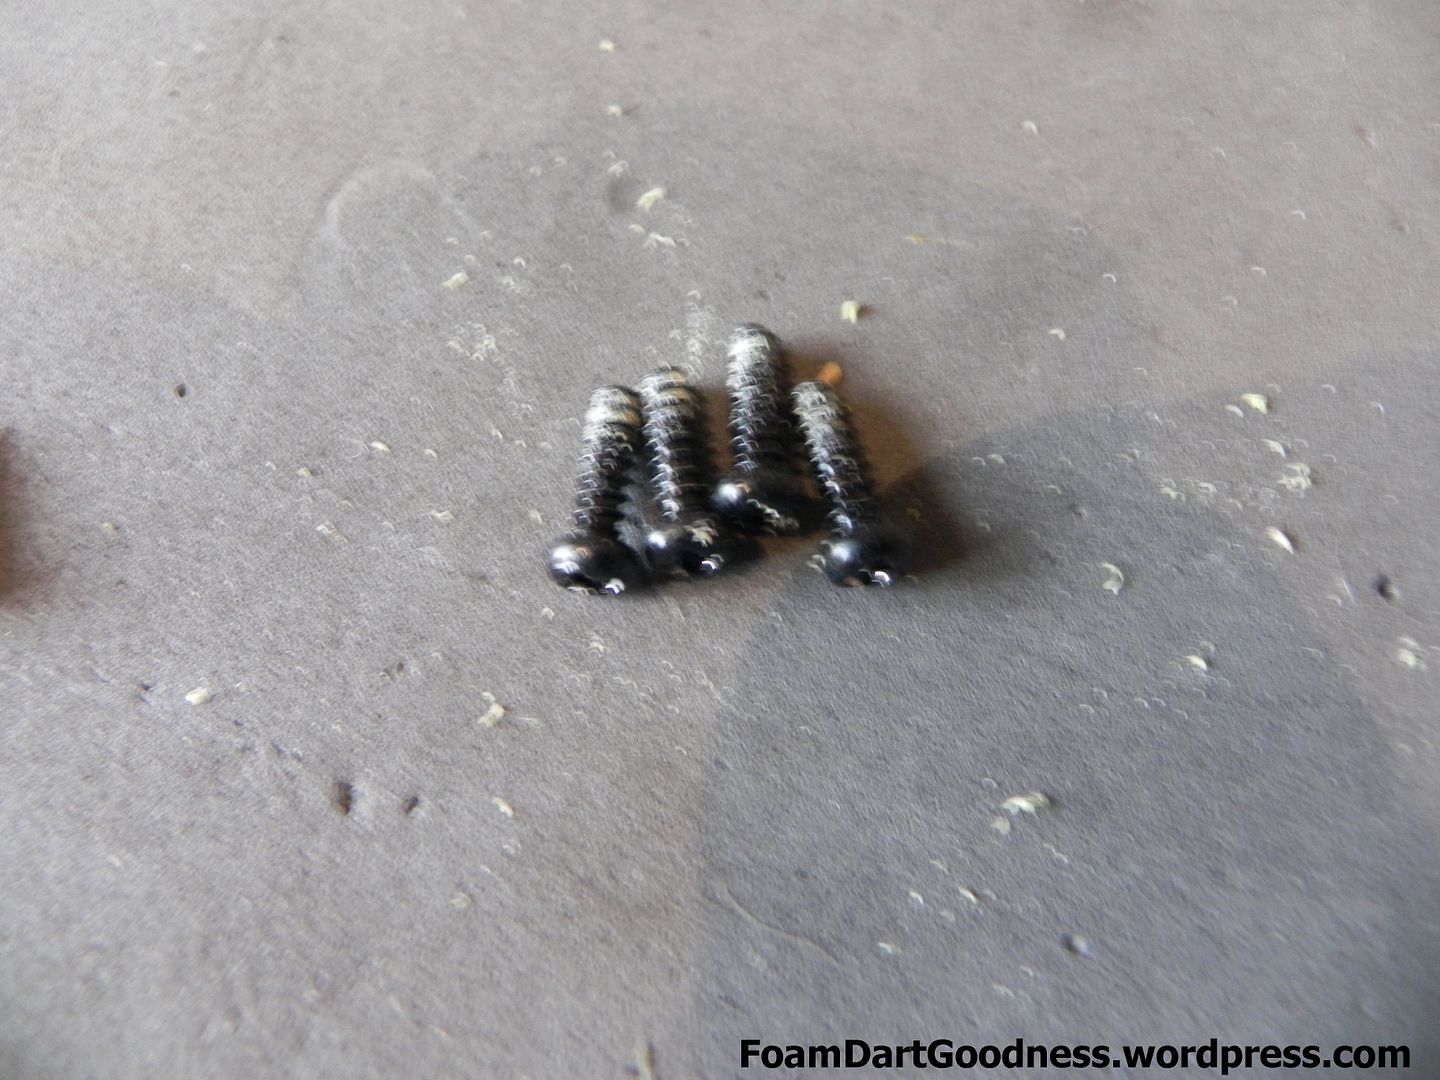
Here, in the handle.
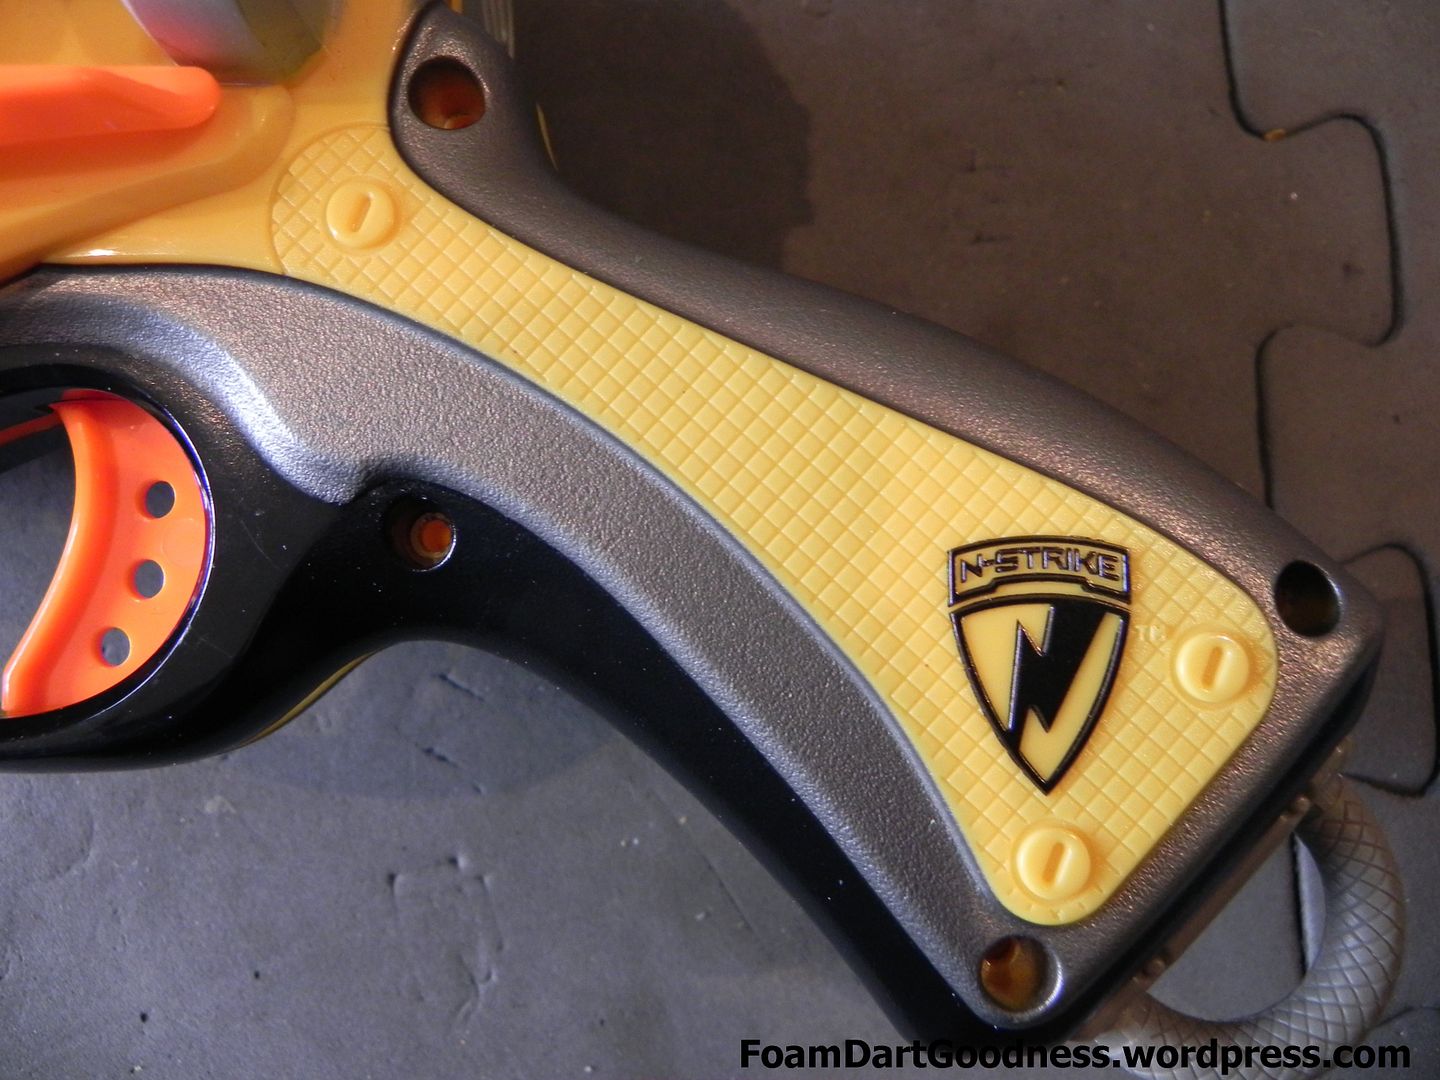
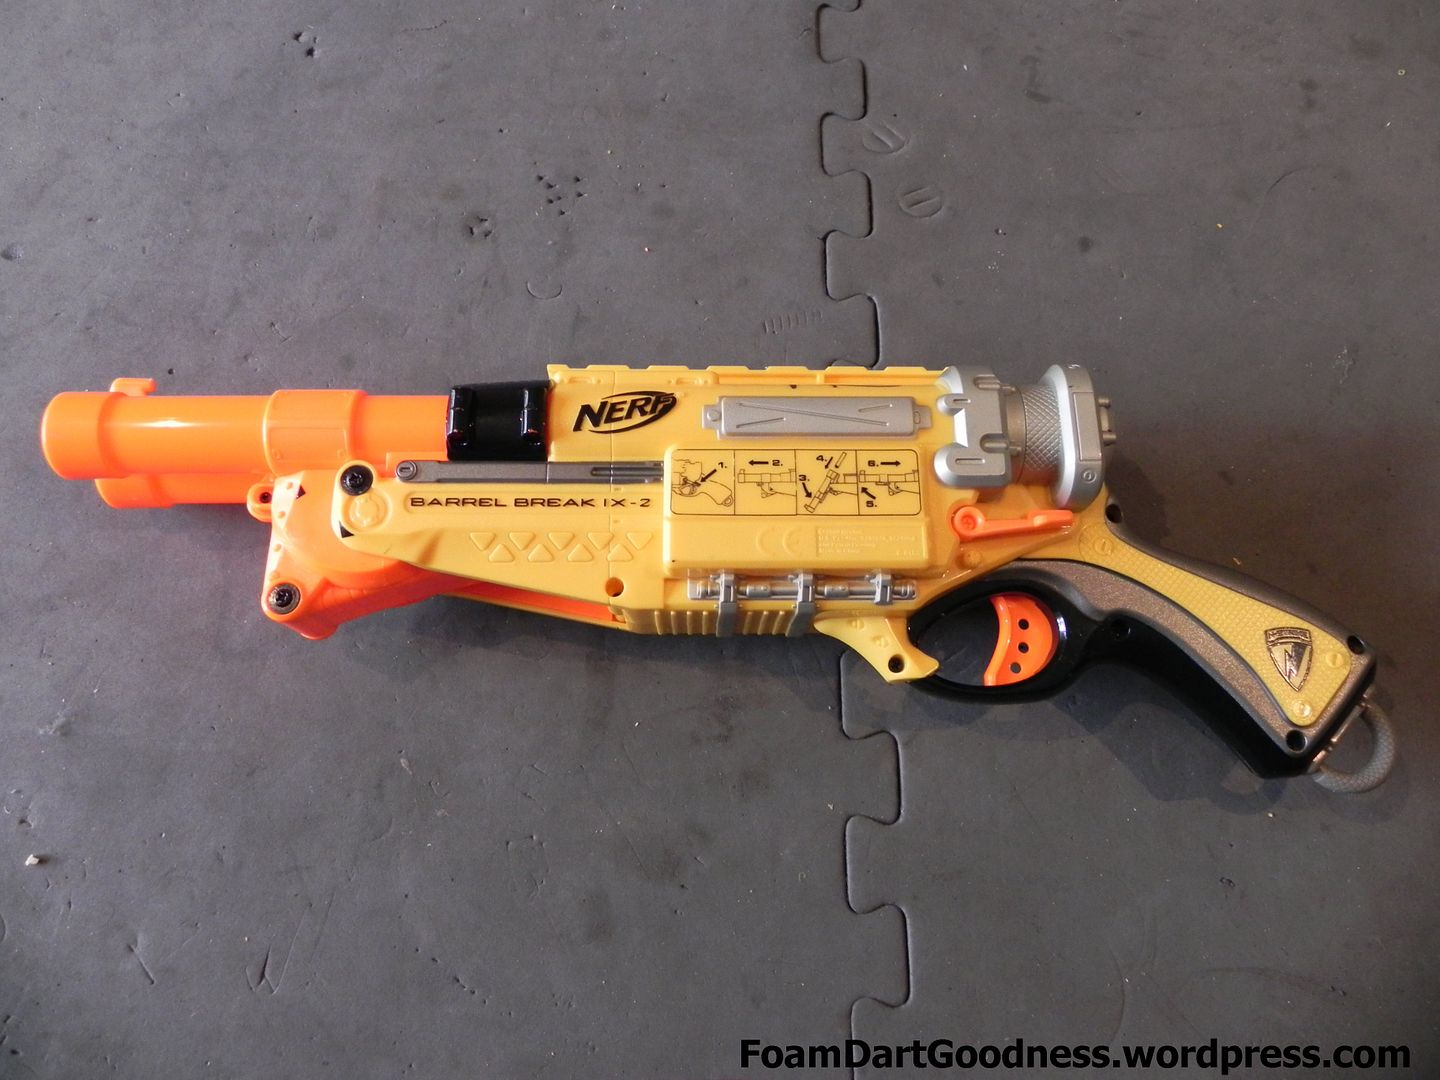
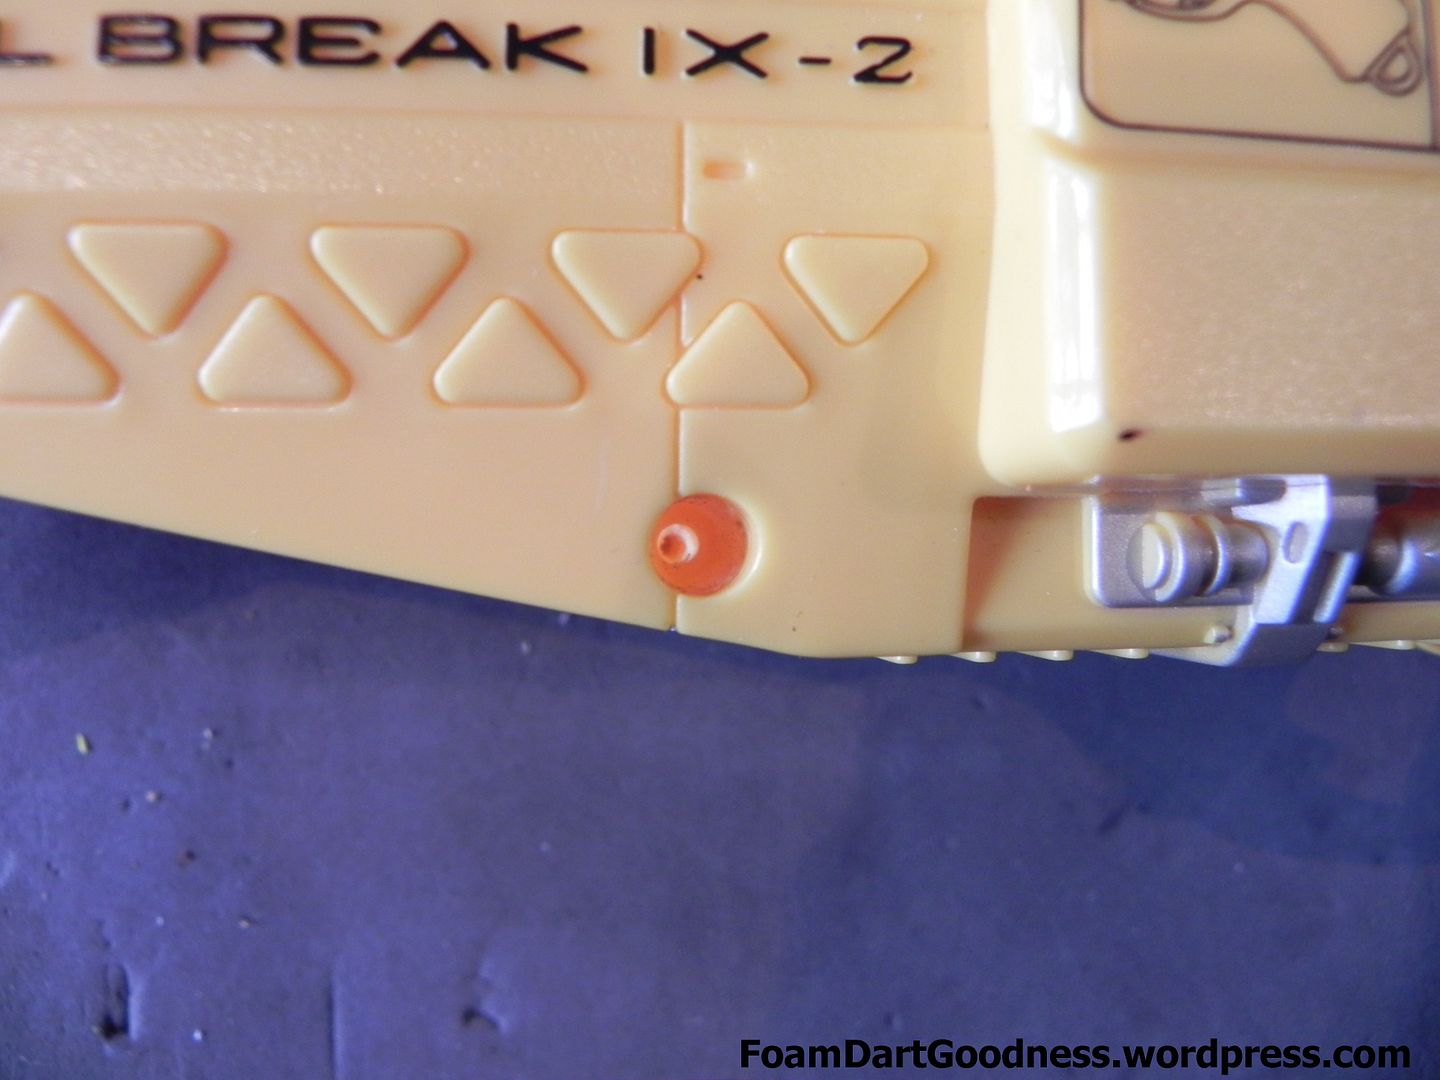
Finally the big flat screw goes here, on the right. You can leave the one on the left alone for the time being.
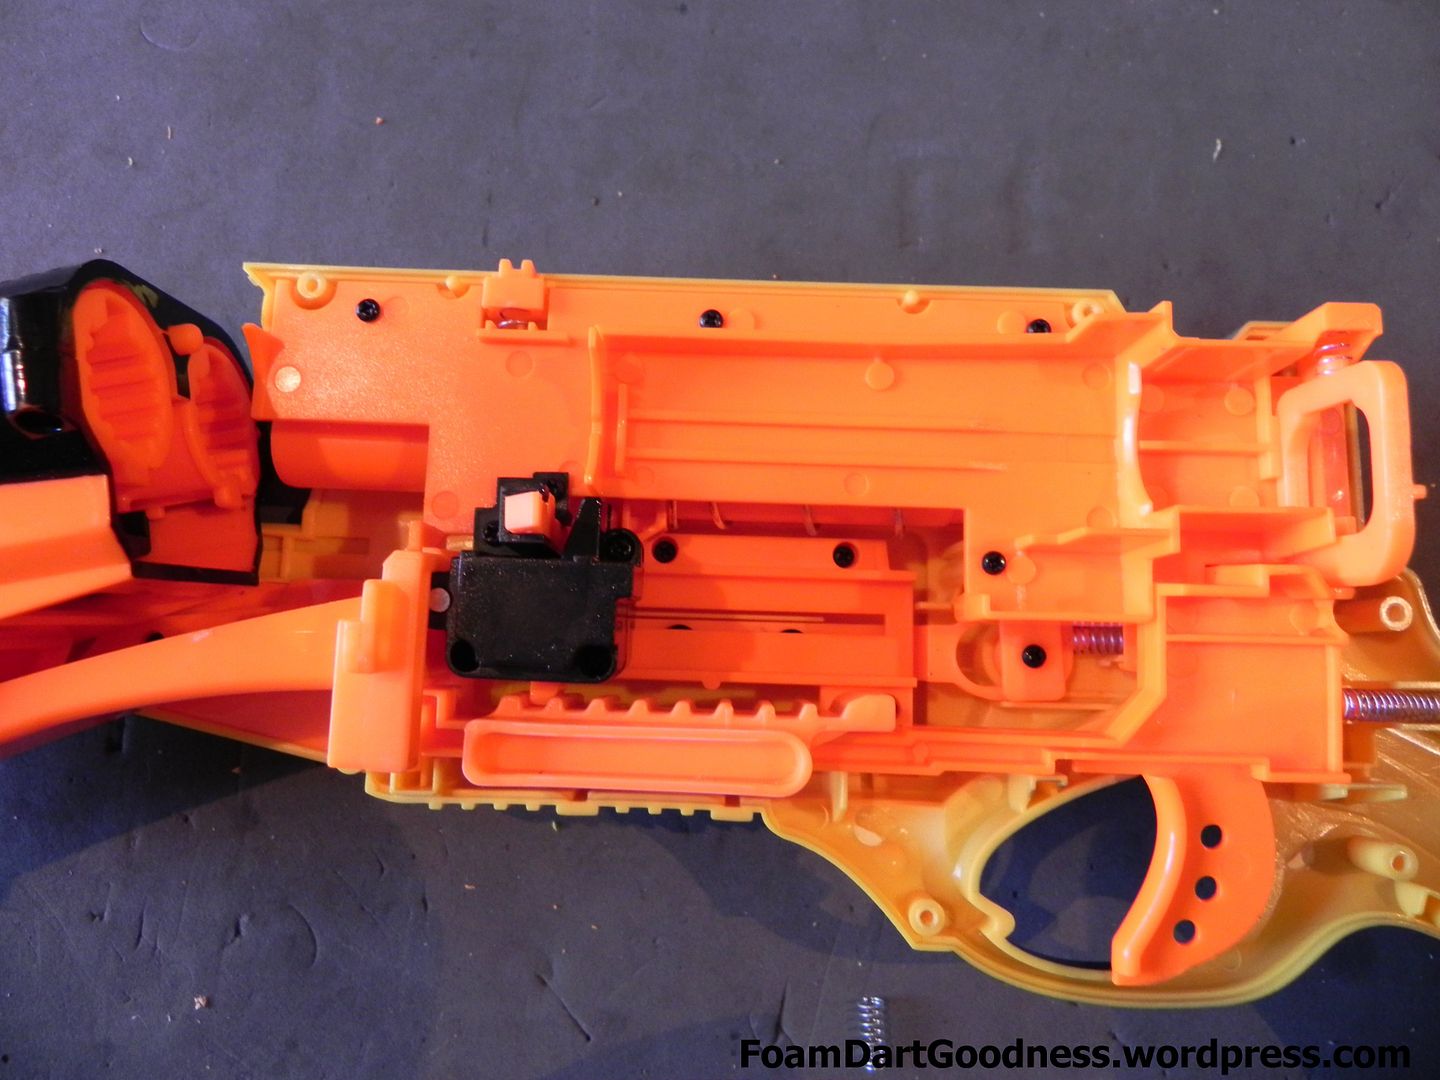
Once all of those are removed you should be able to open up the blaster.
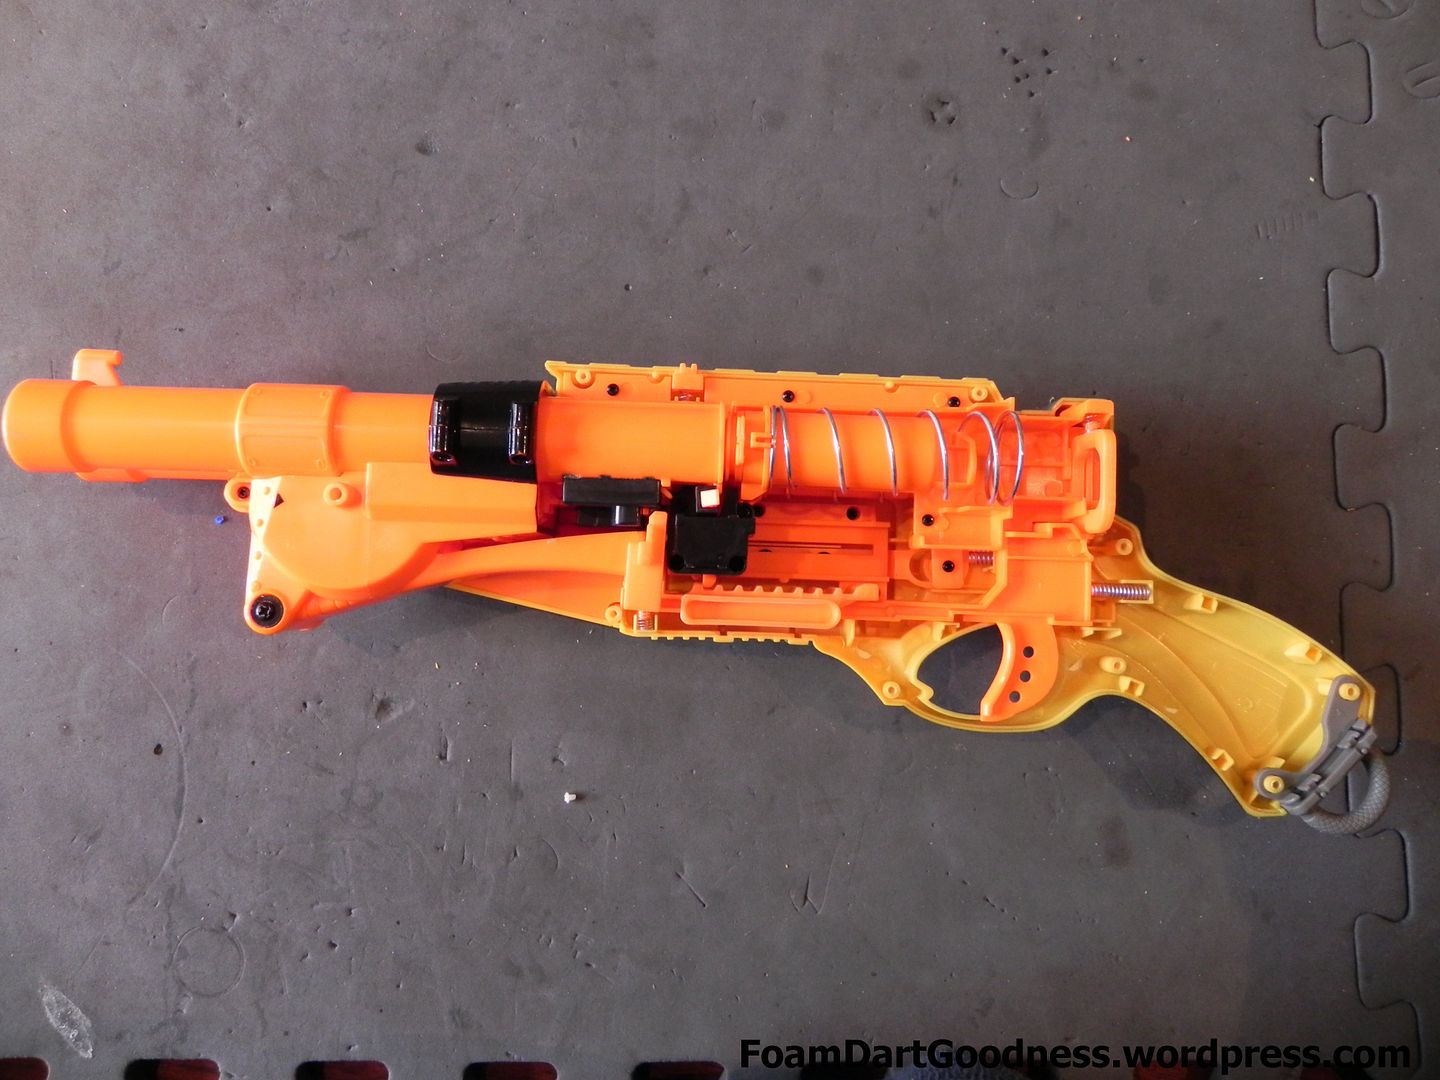
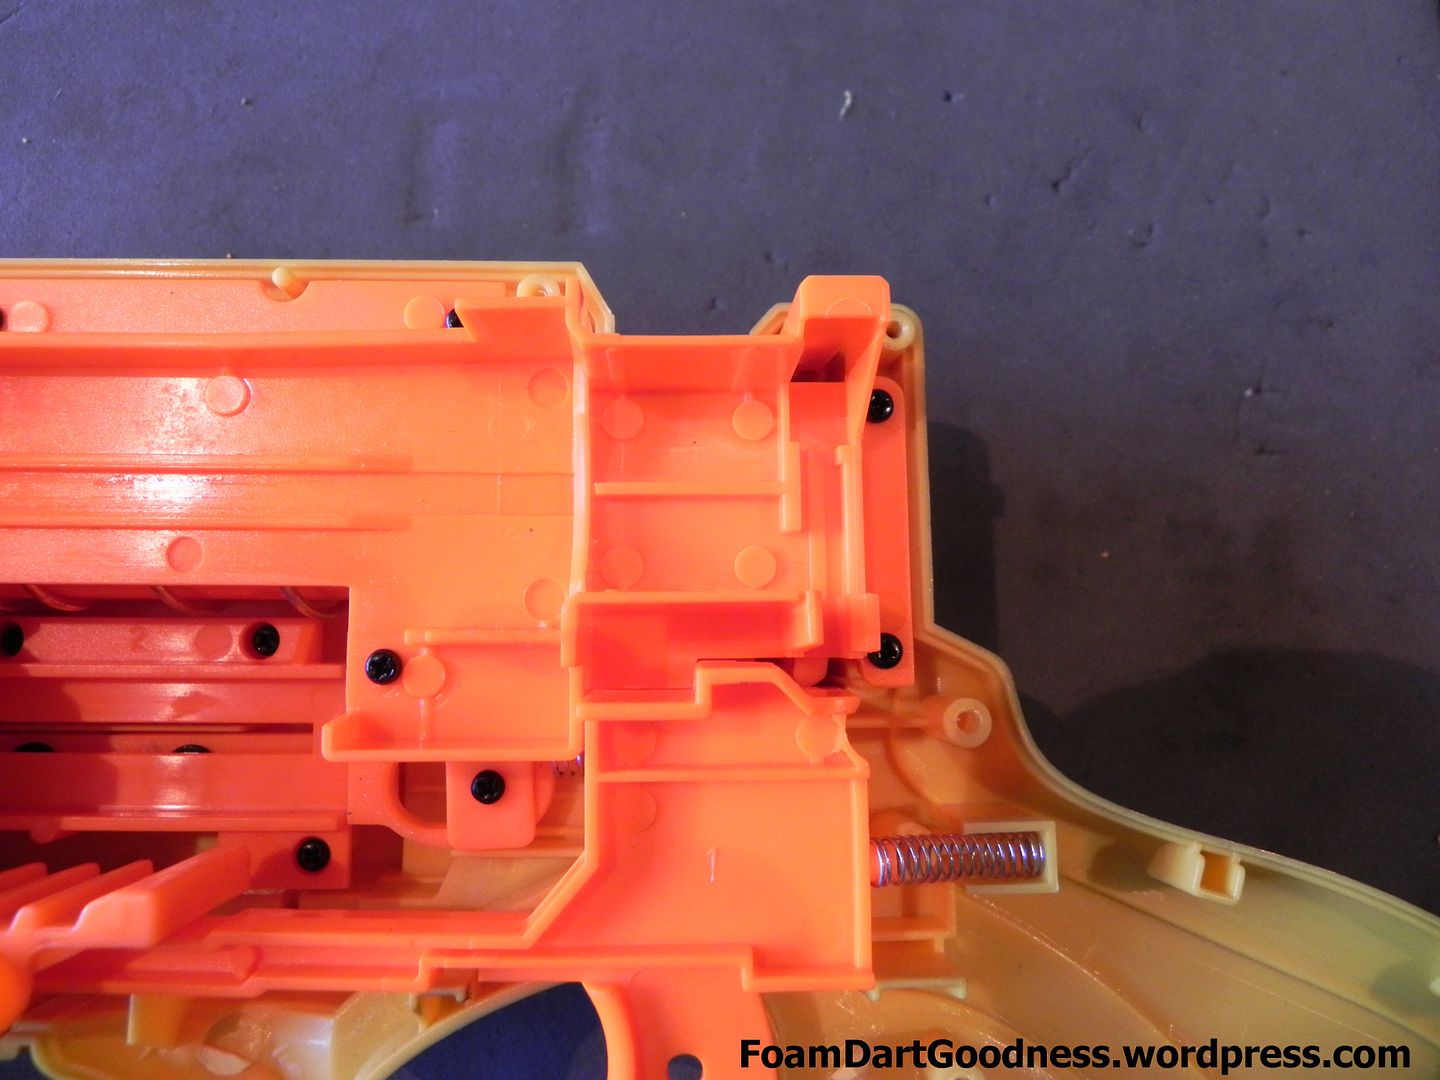
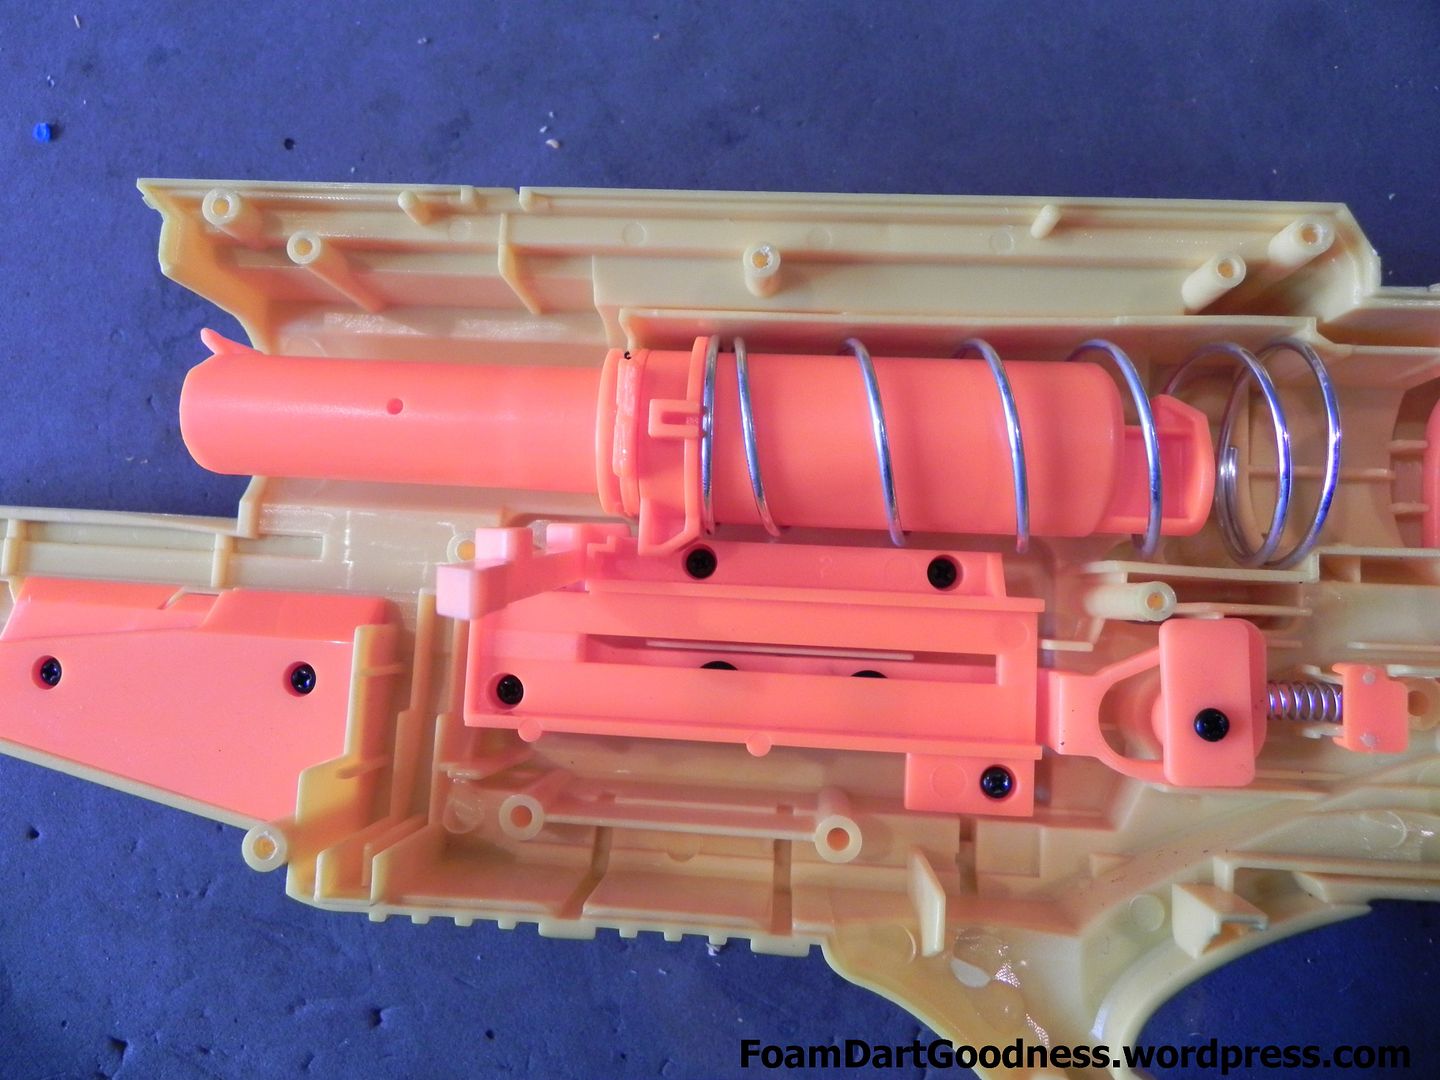
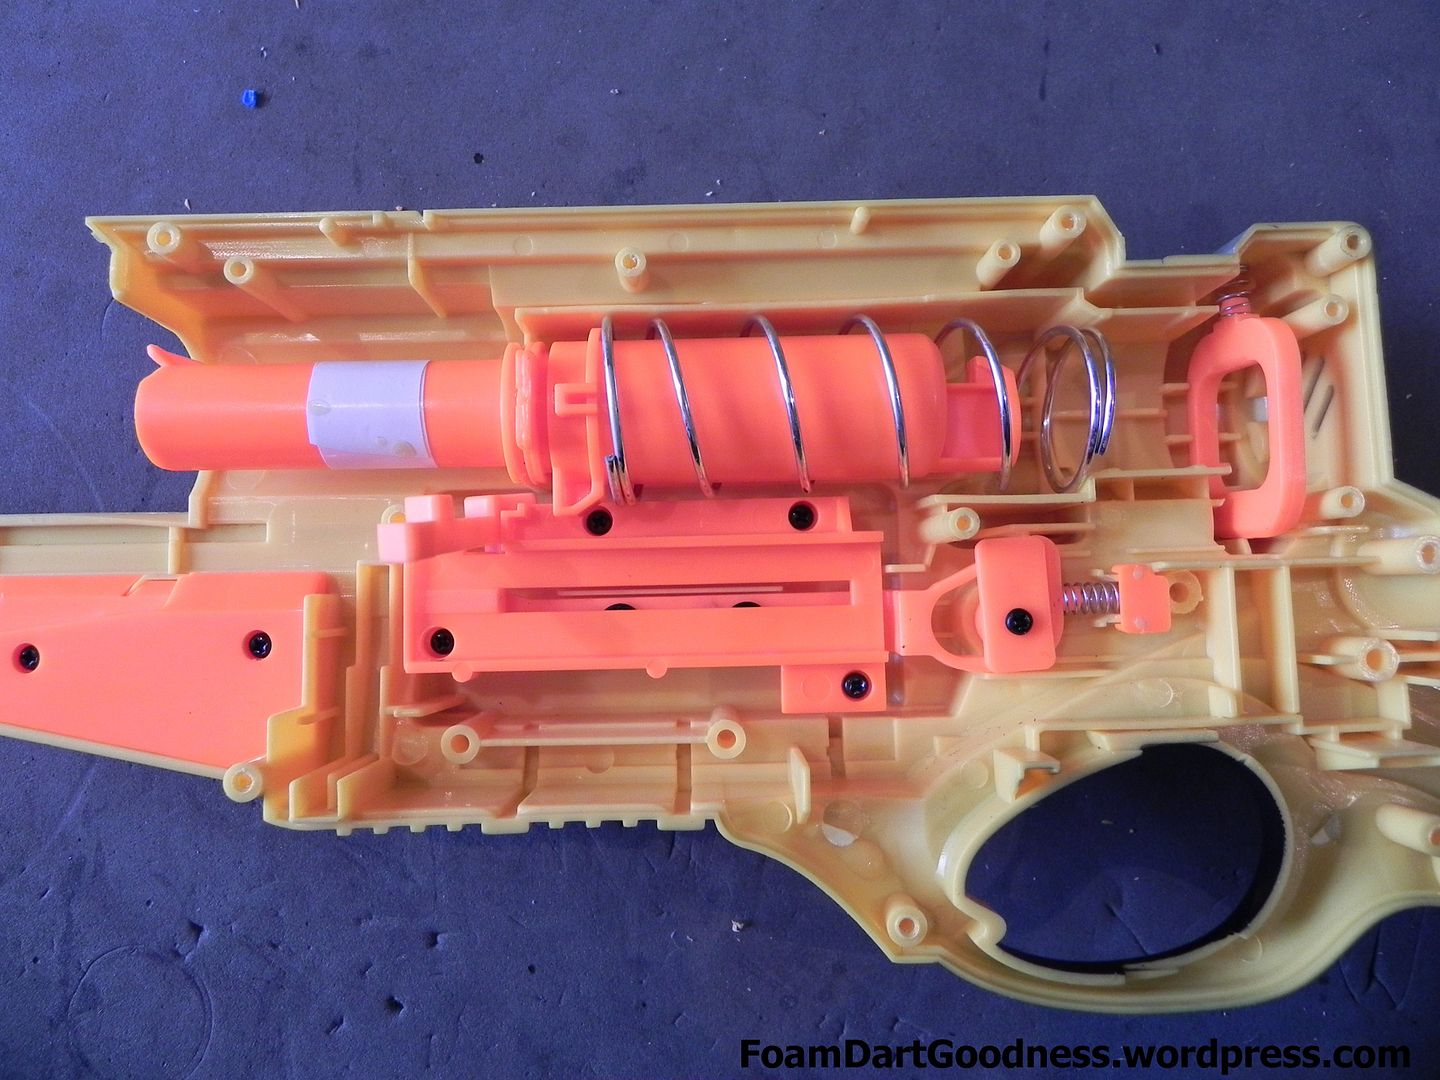
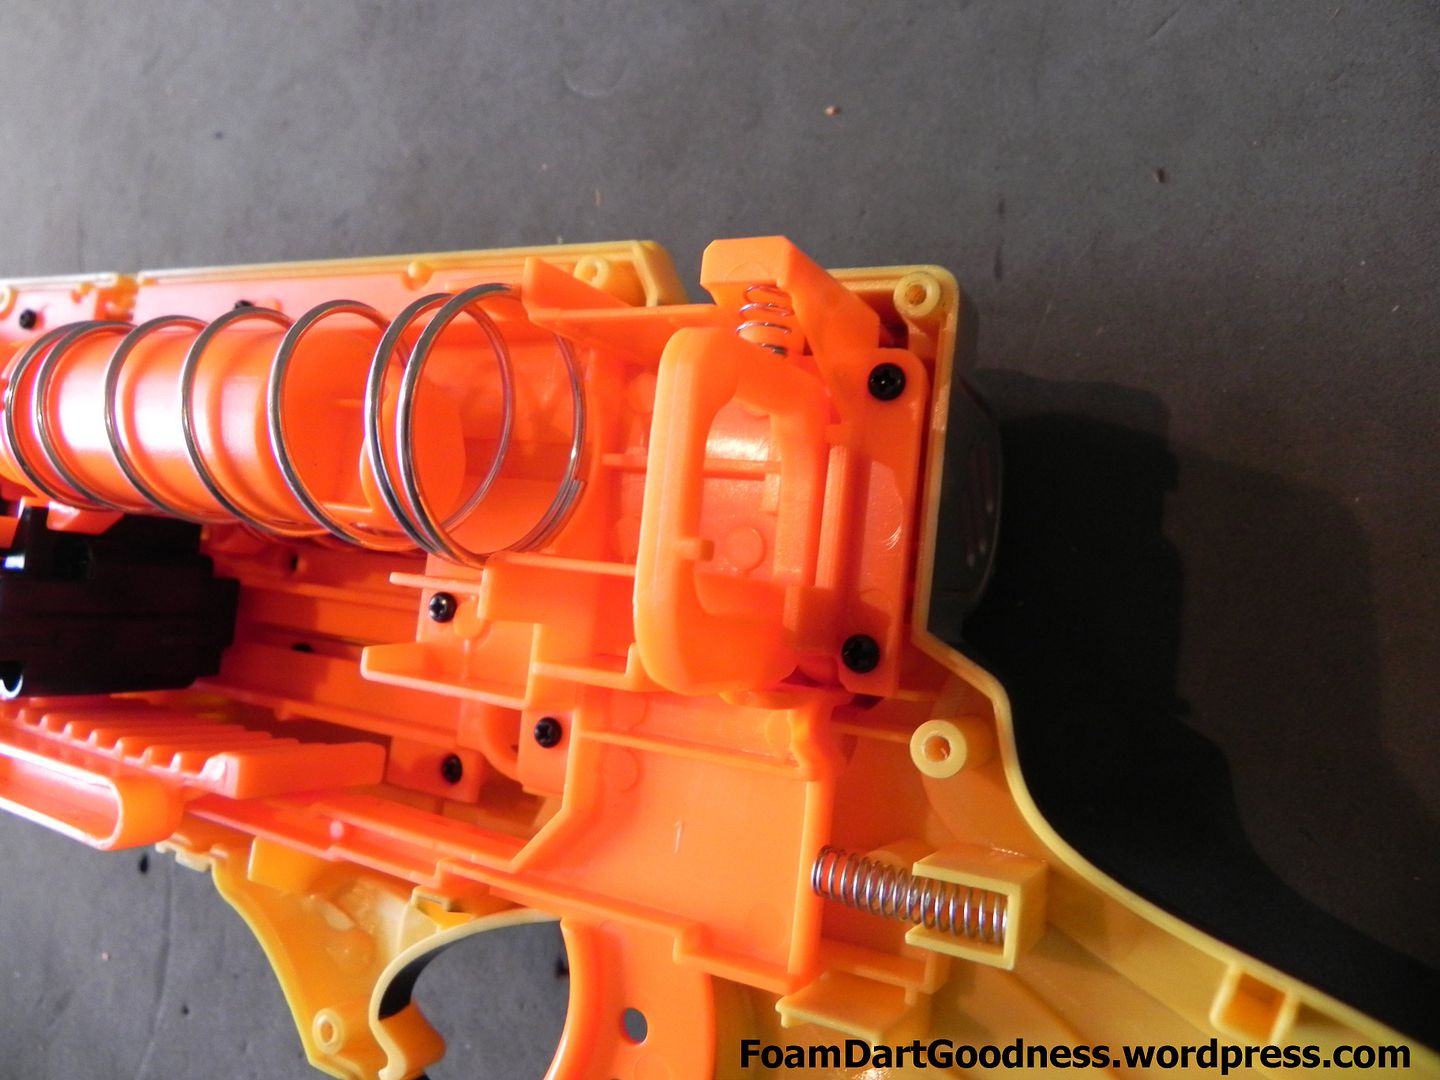
As always, have a good look around at this point to get an understanding of how it all works.
Knowing how something should work makes re-assembly FAR easier.
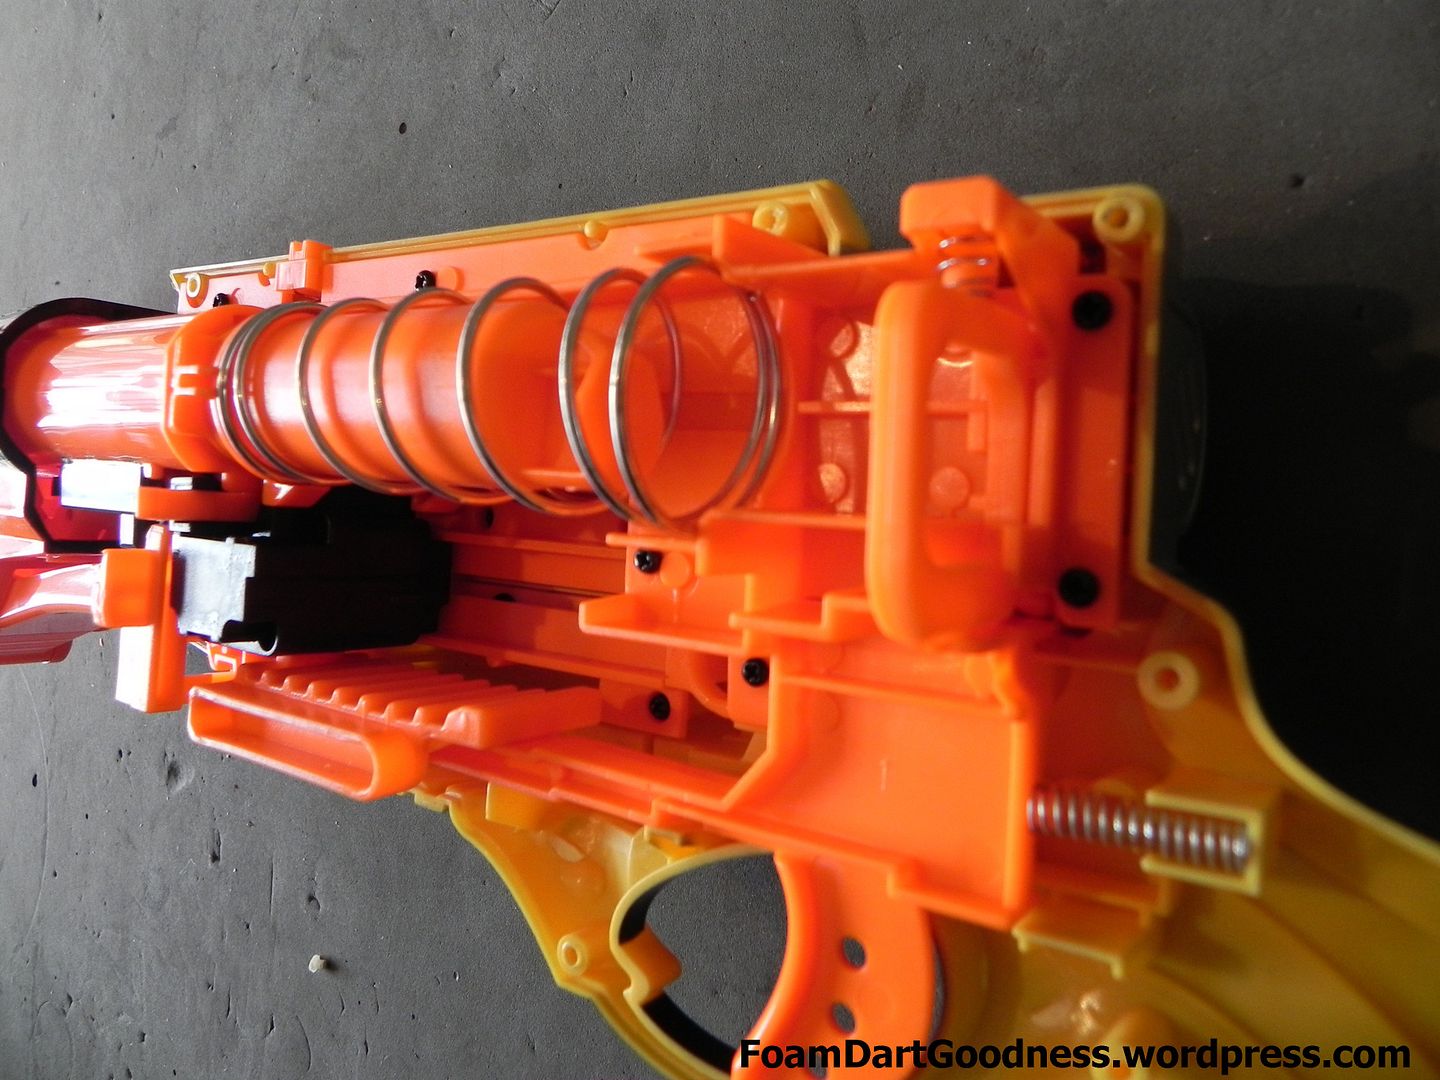
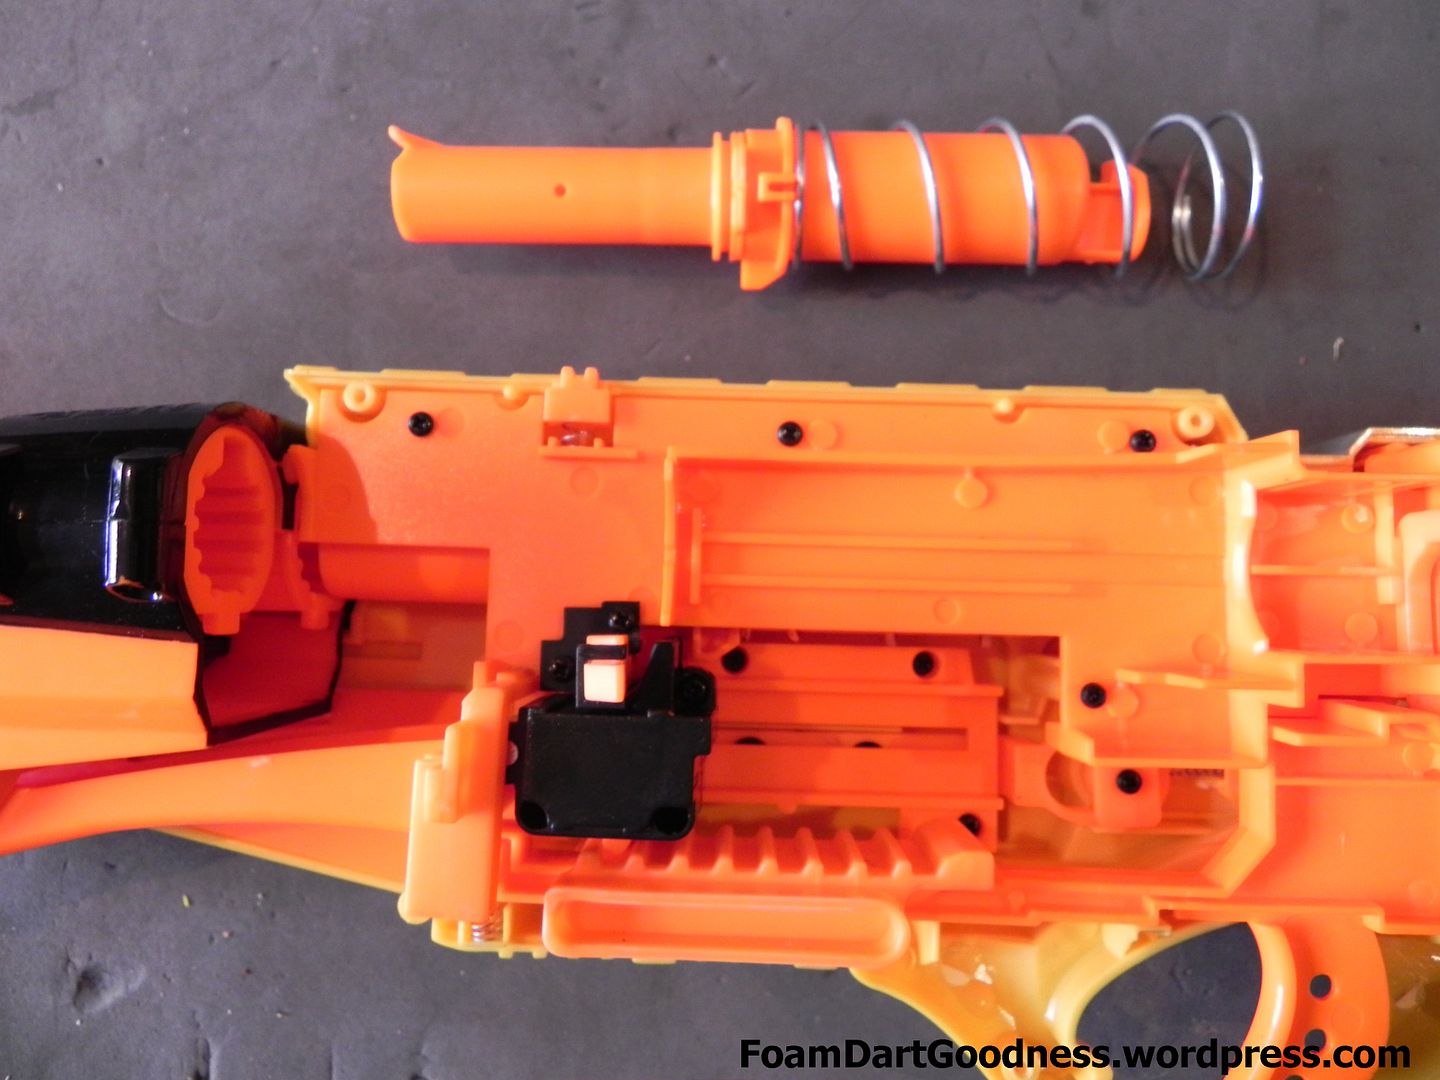
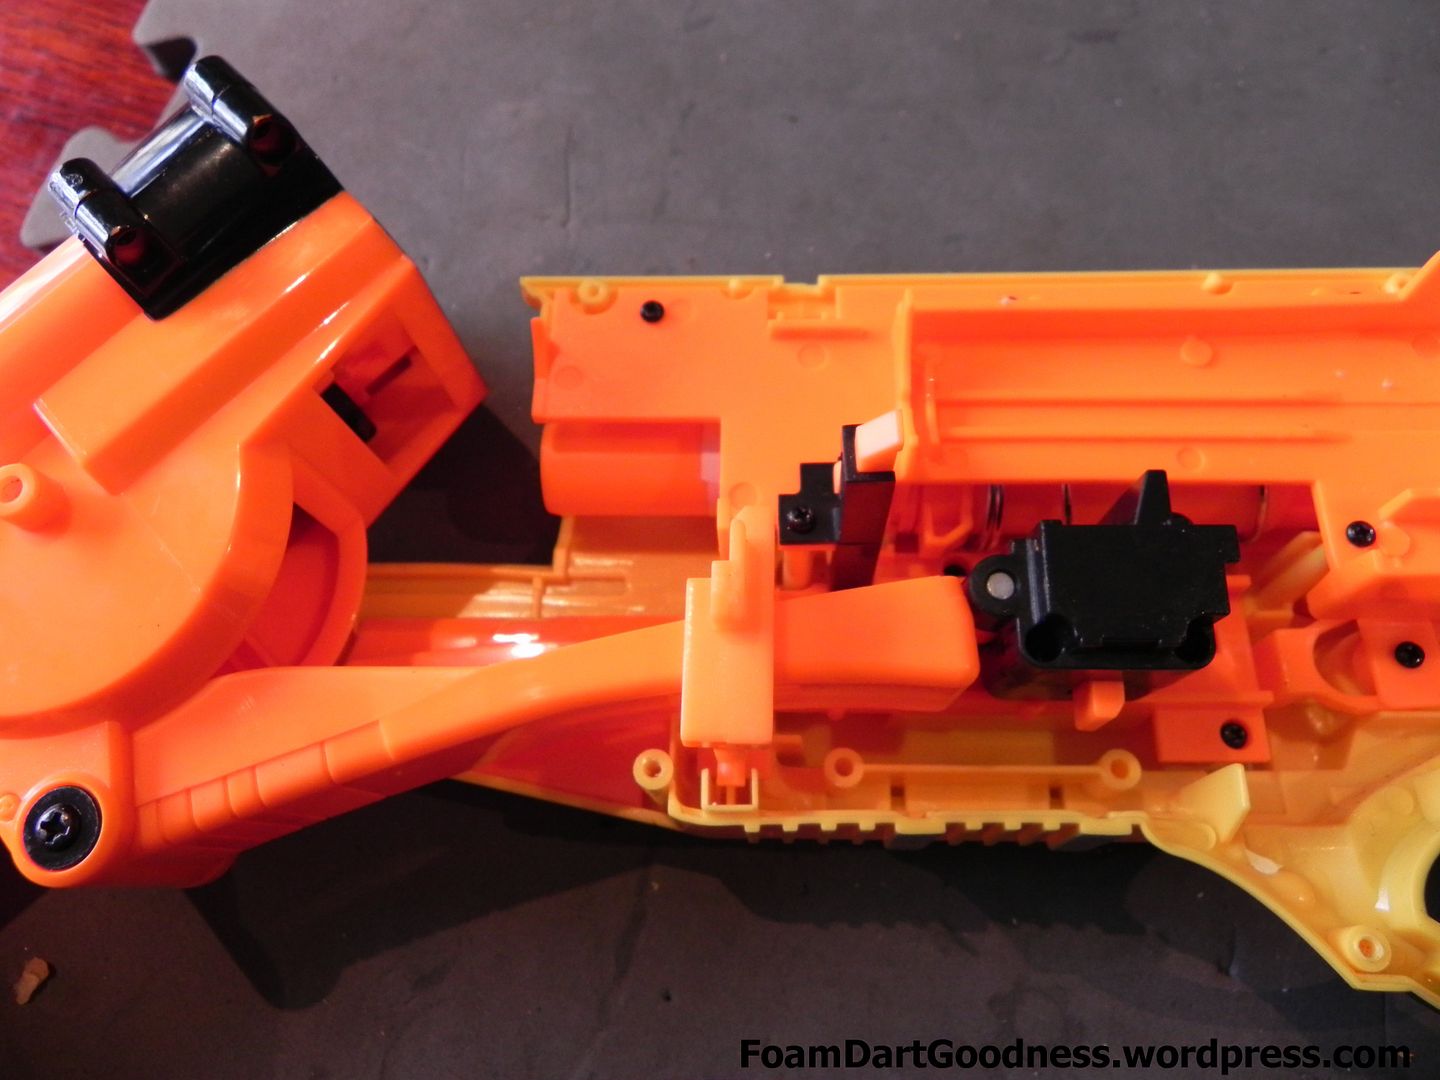
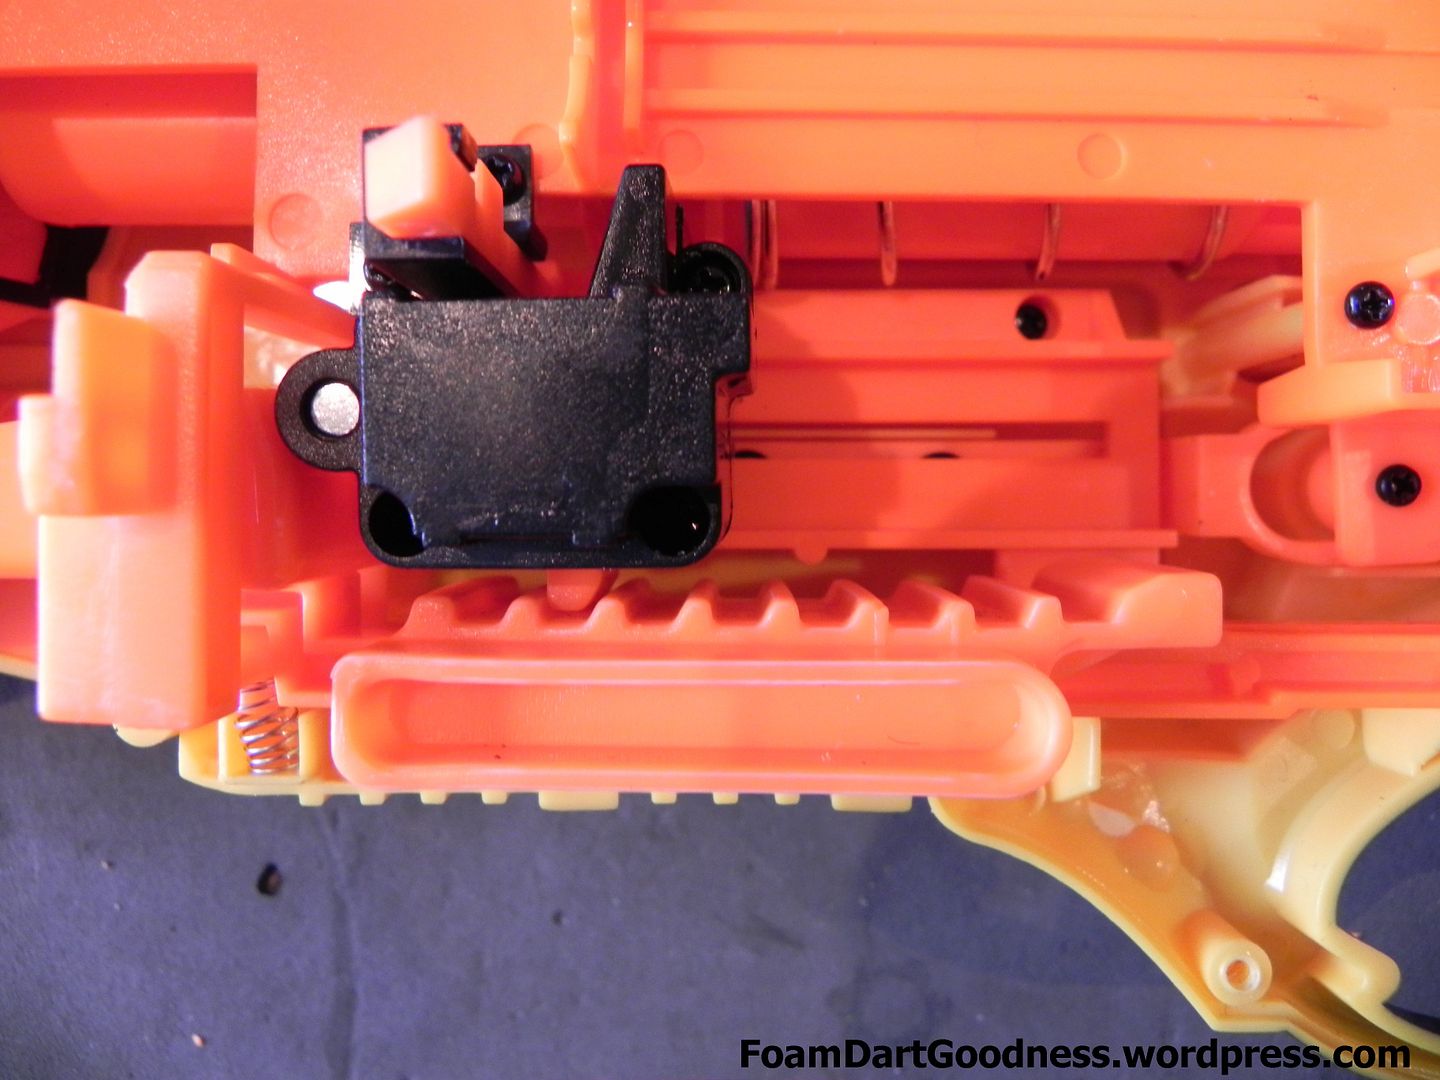
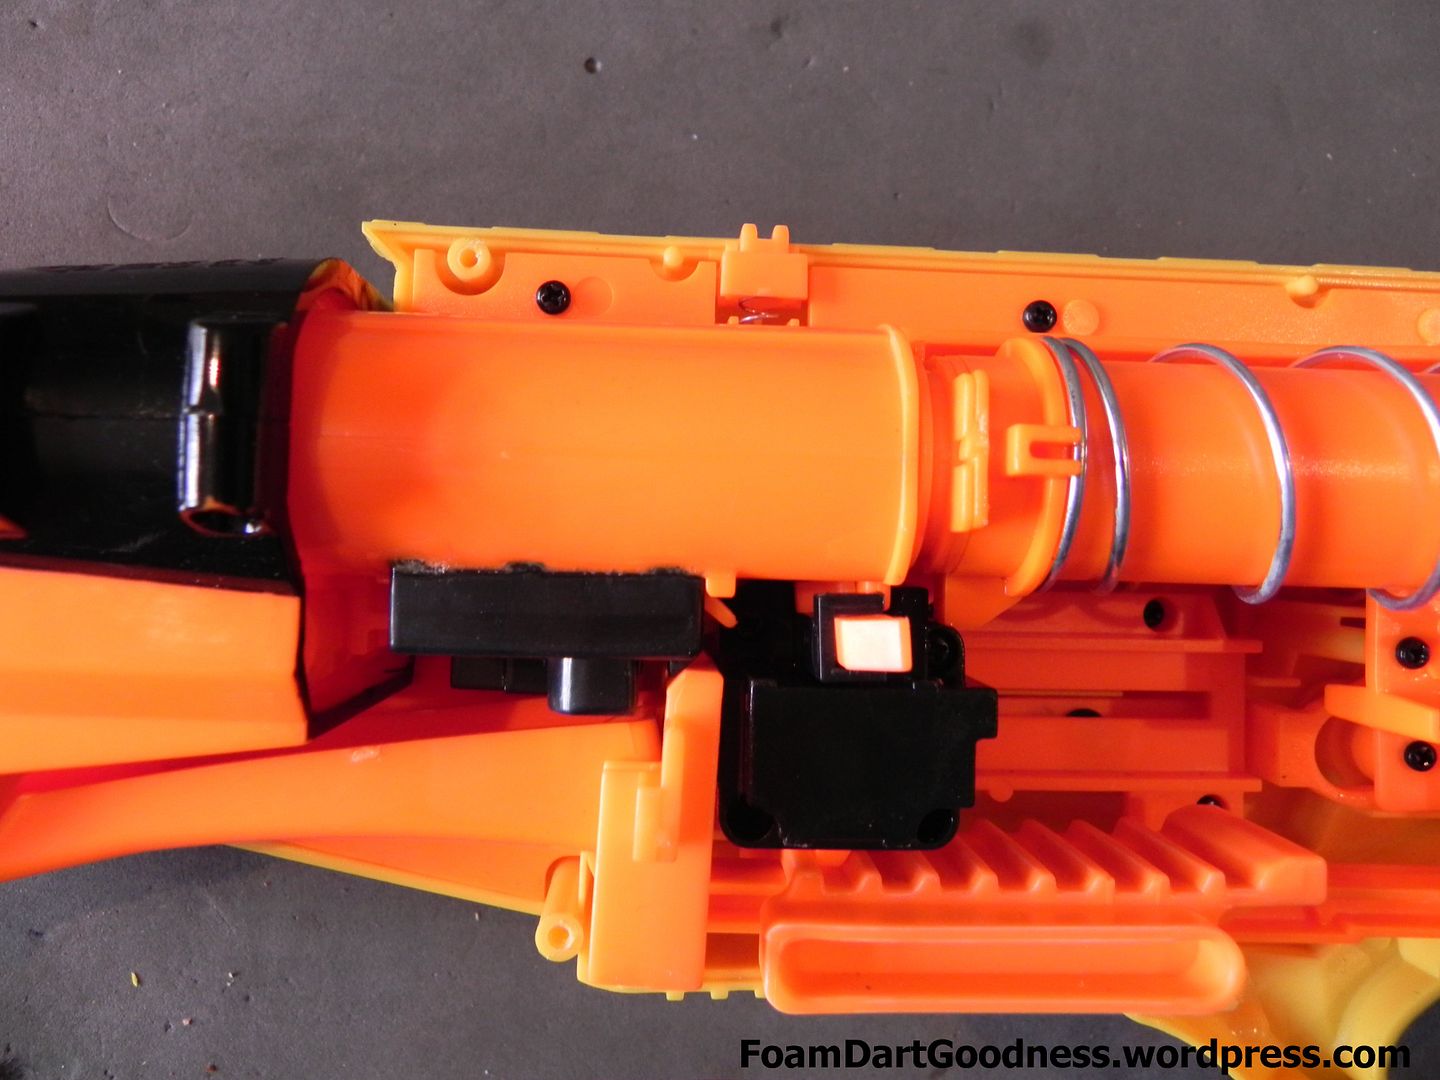
OK, happy? Good. Press this tab here allowing you to slide the barrel forward slightly.
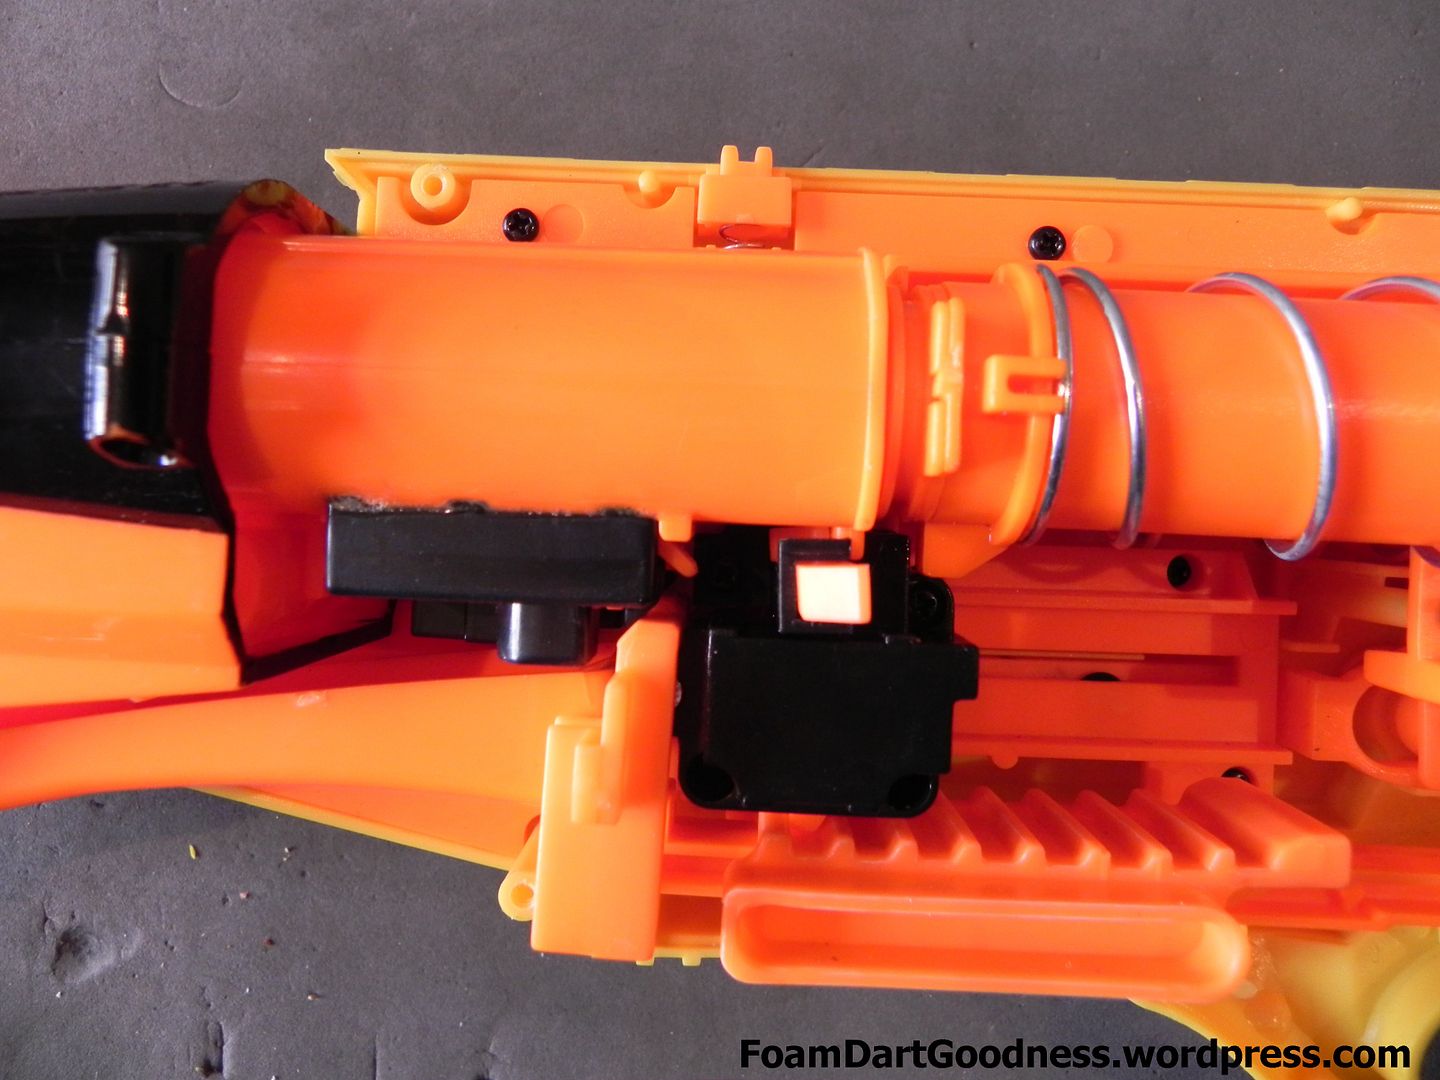
Like so.
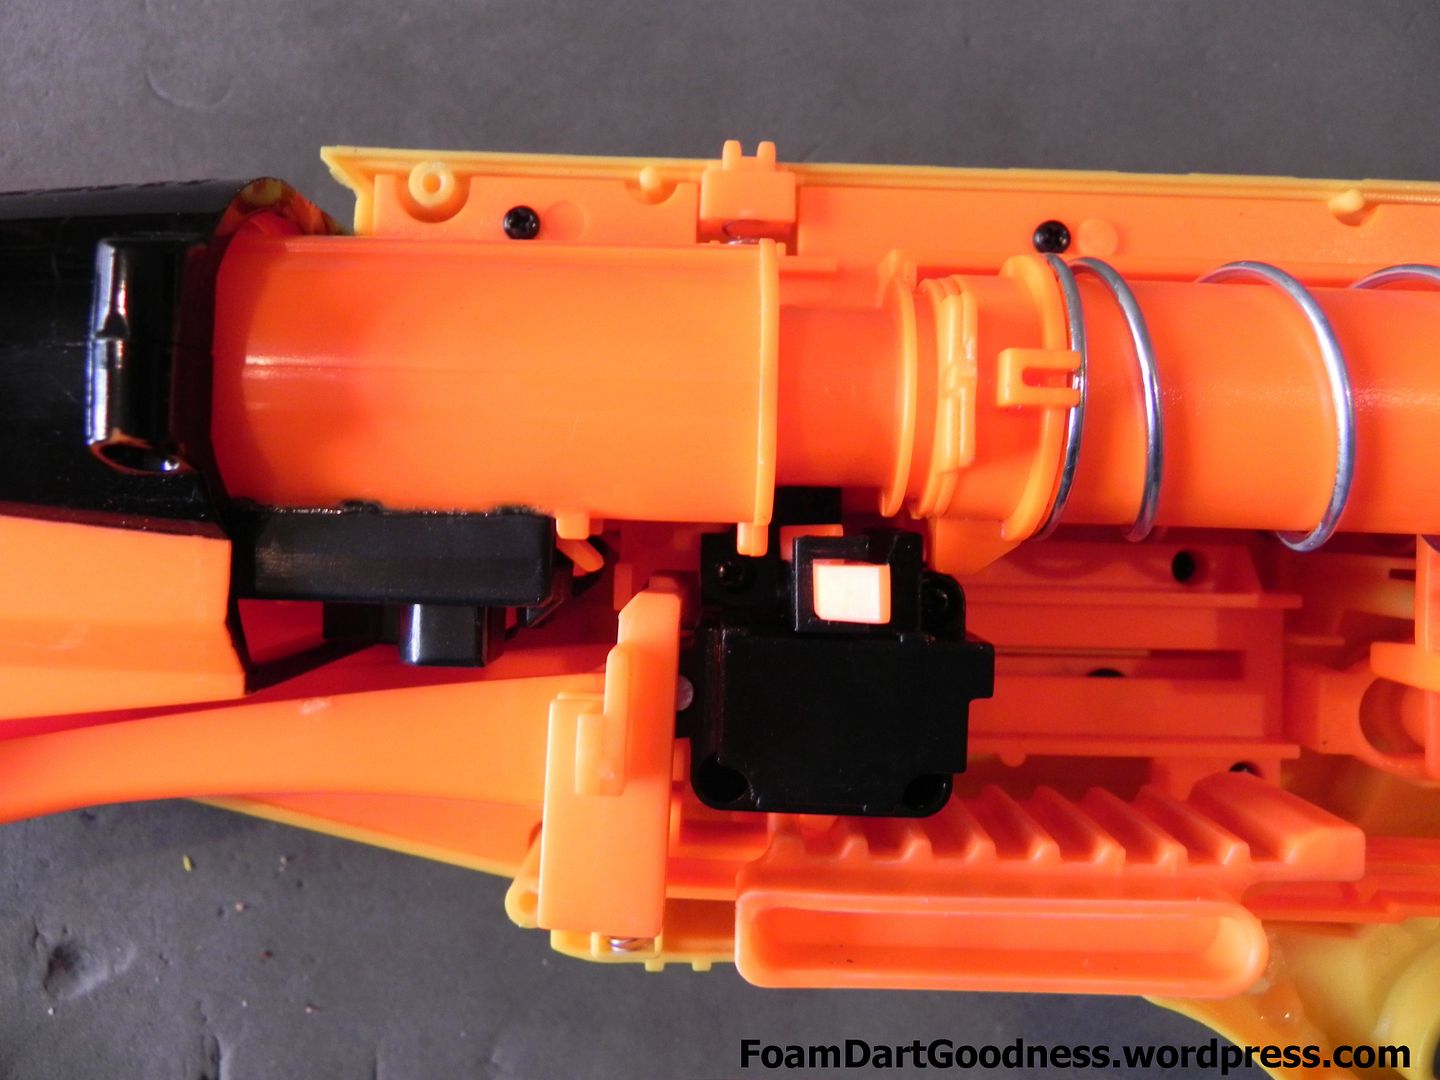
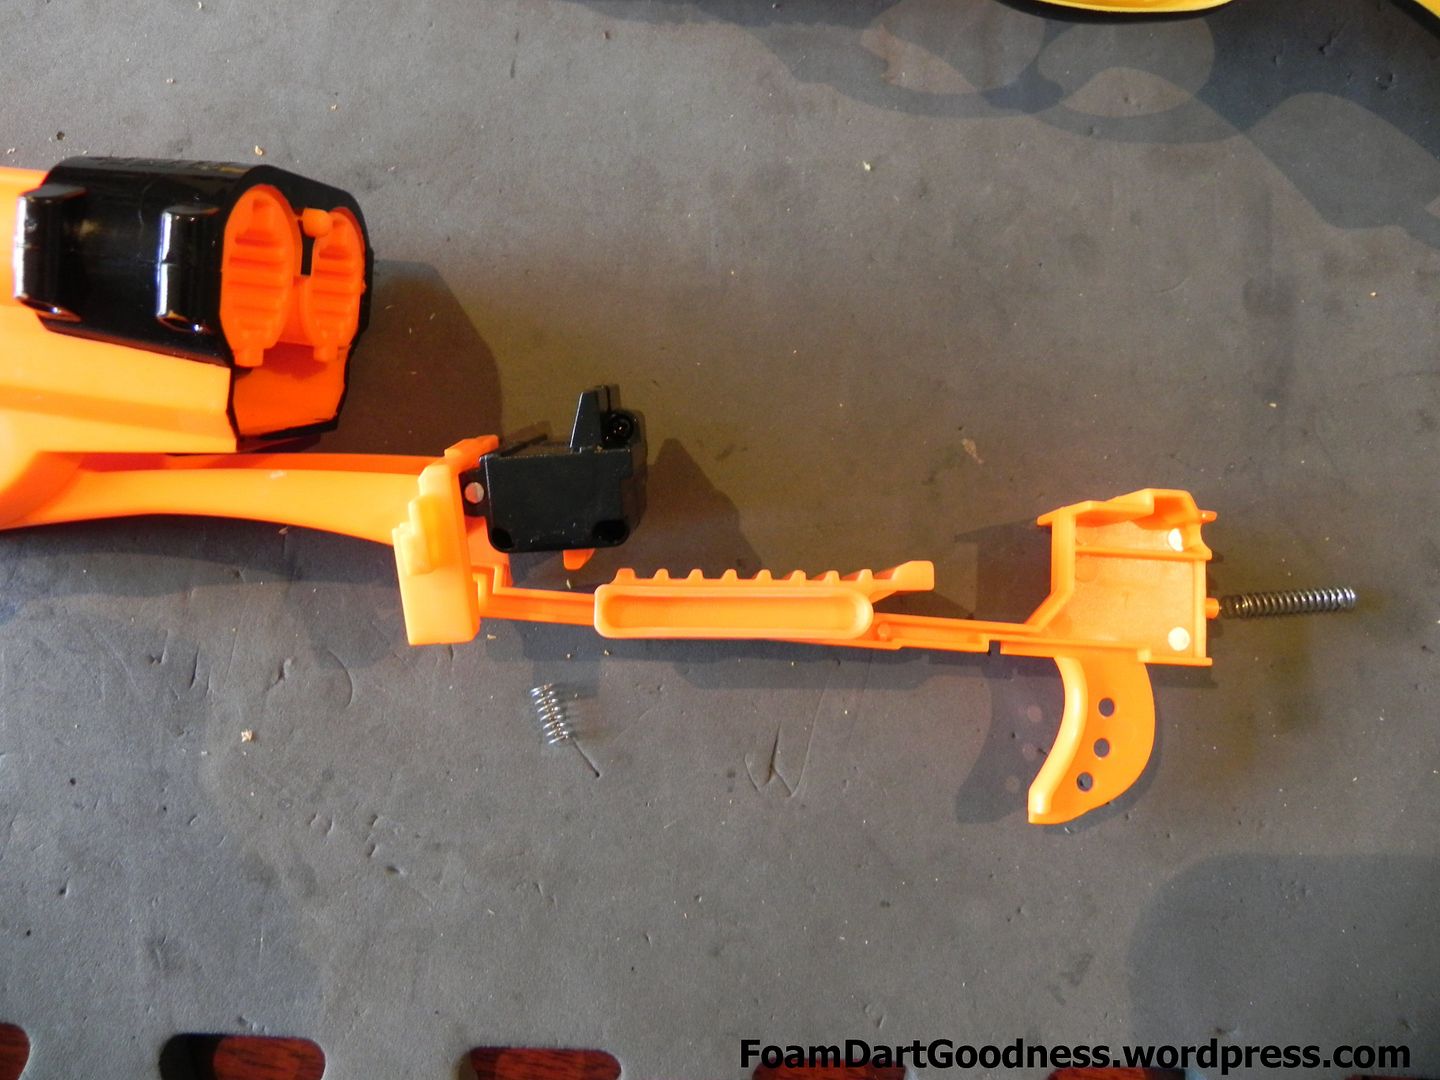
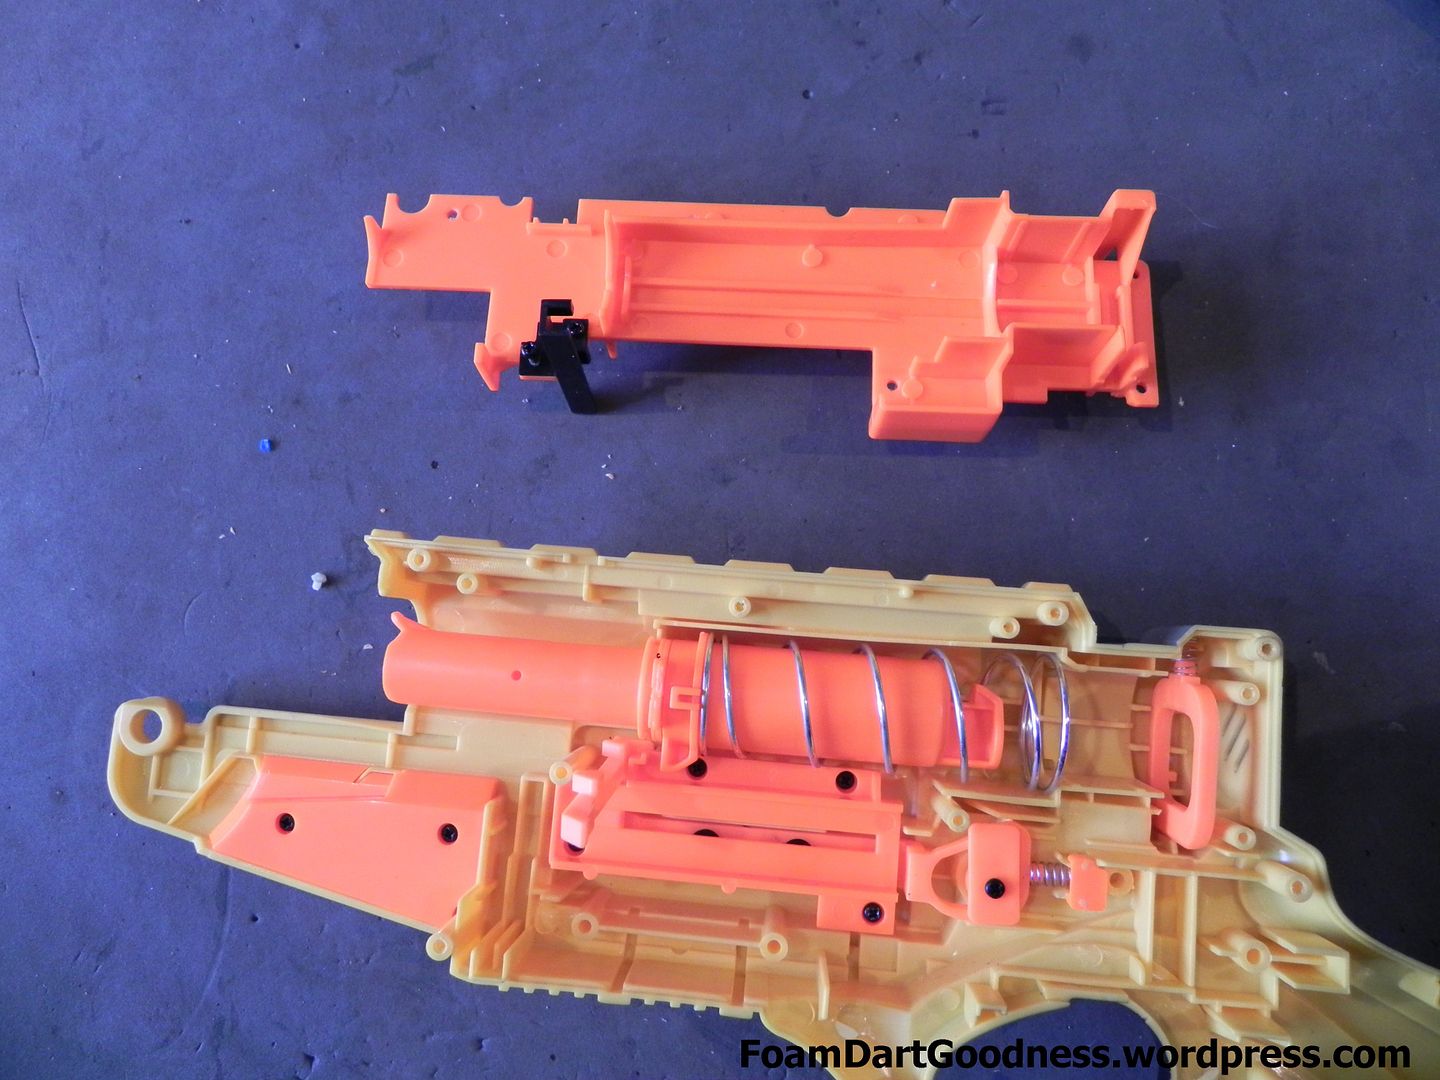
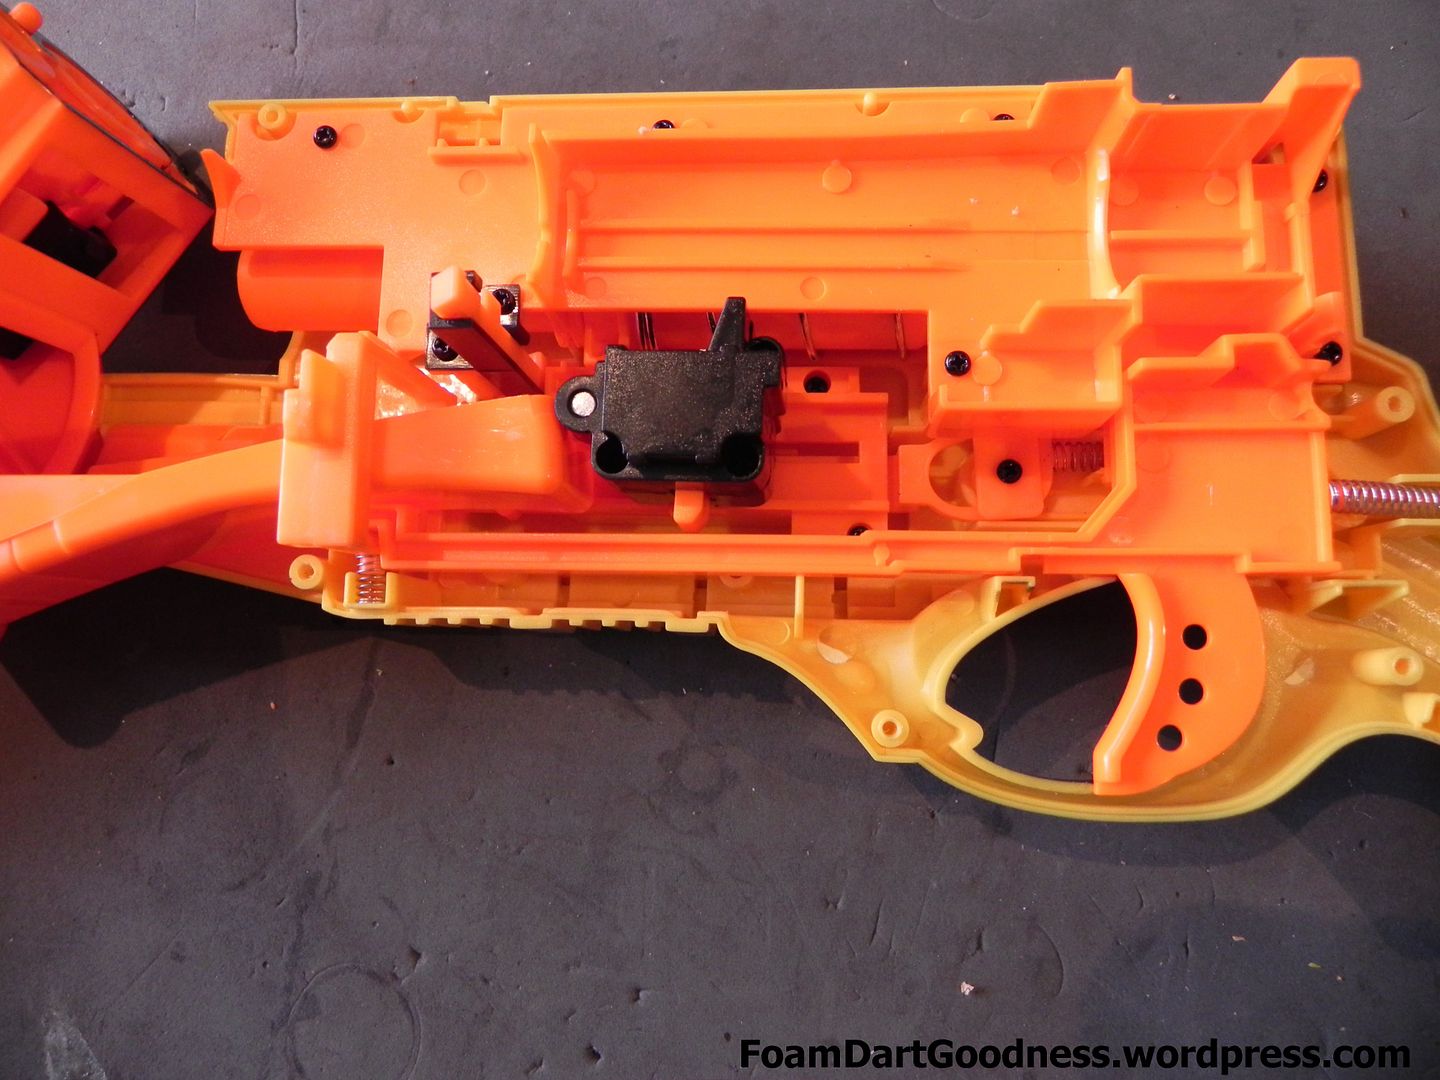
Then carefully slide it all the way forward.
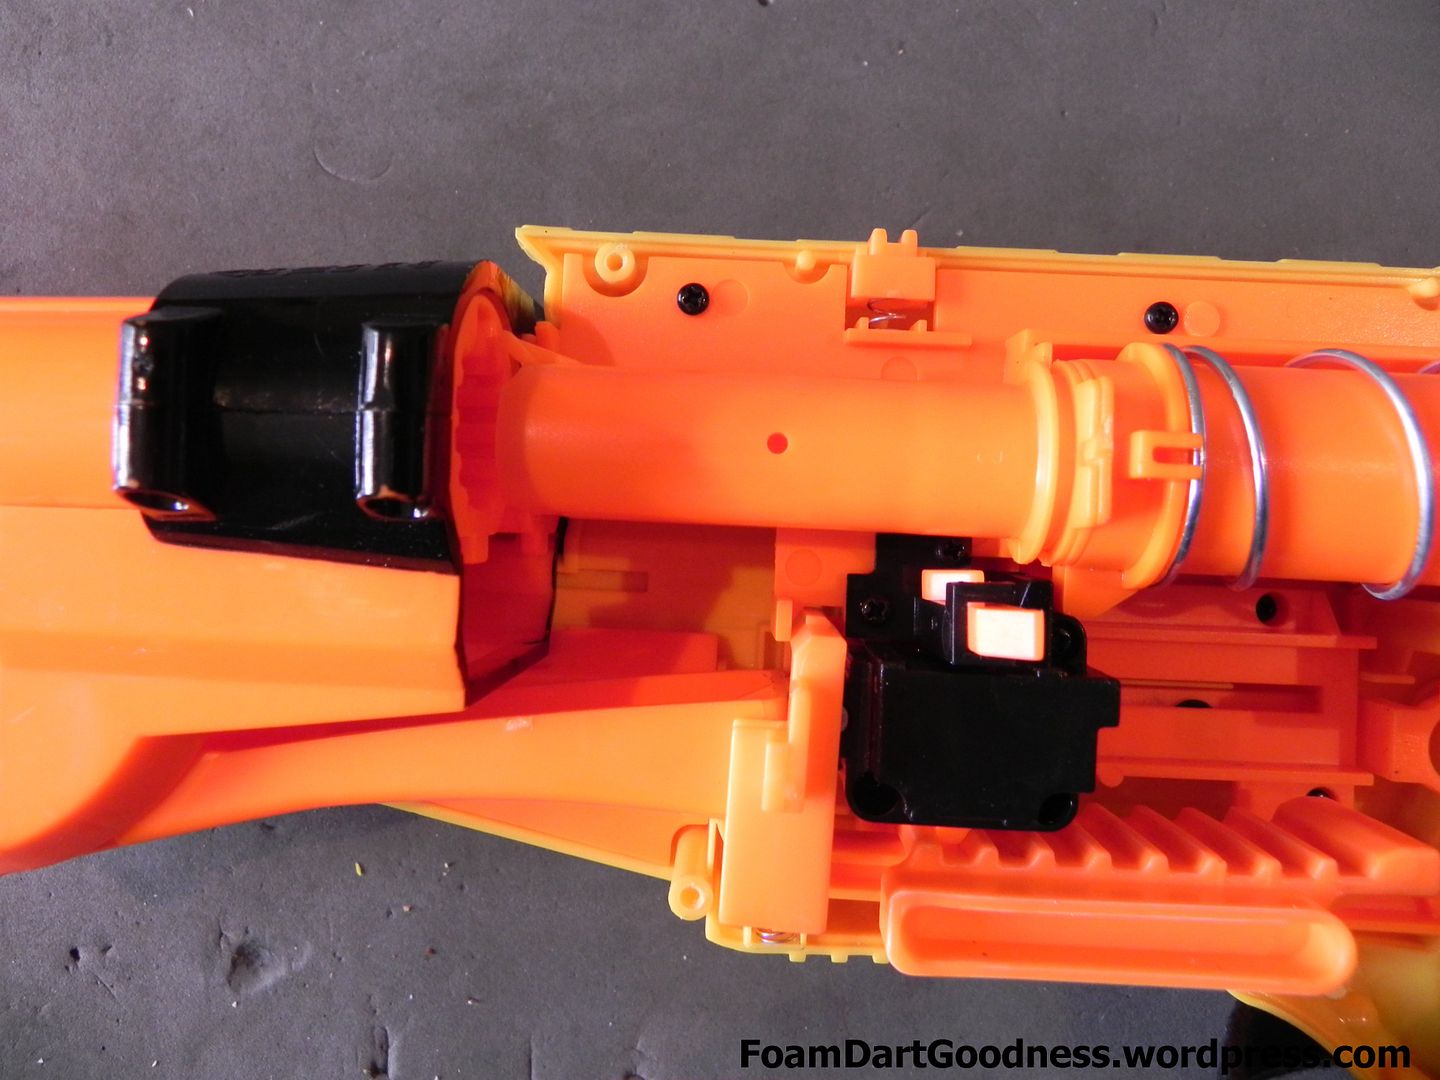
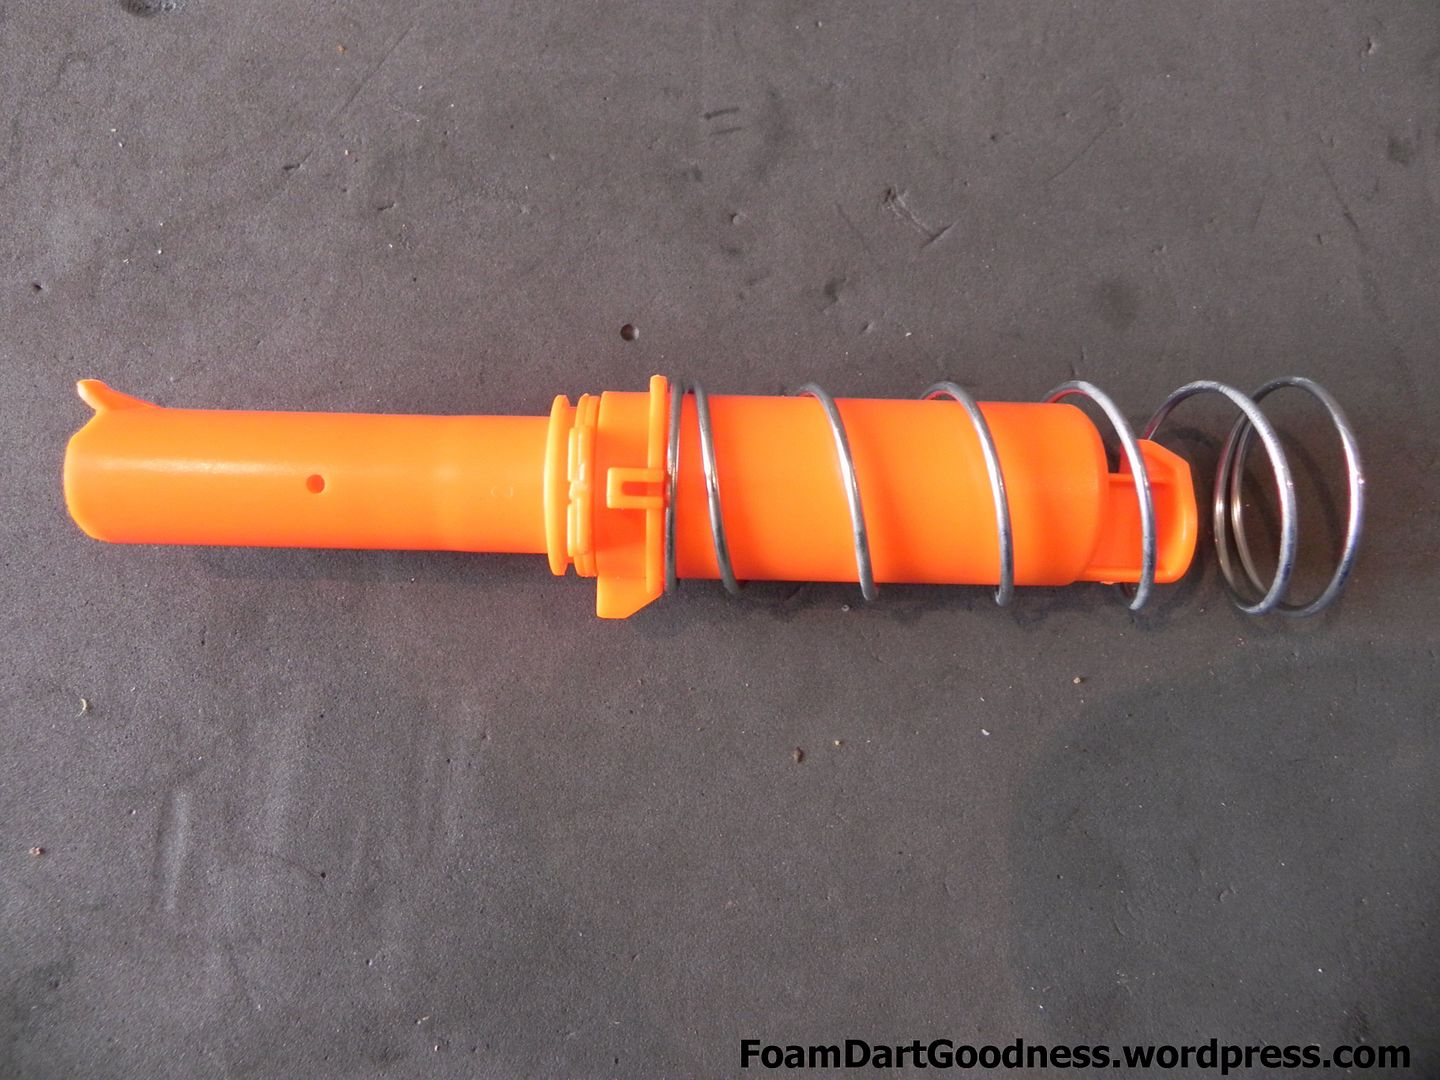
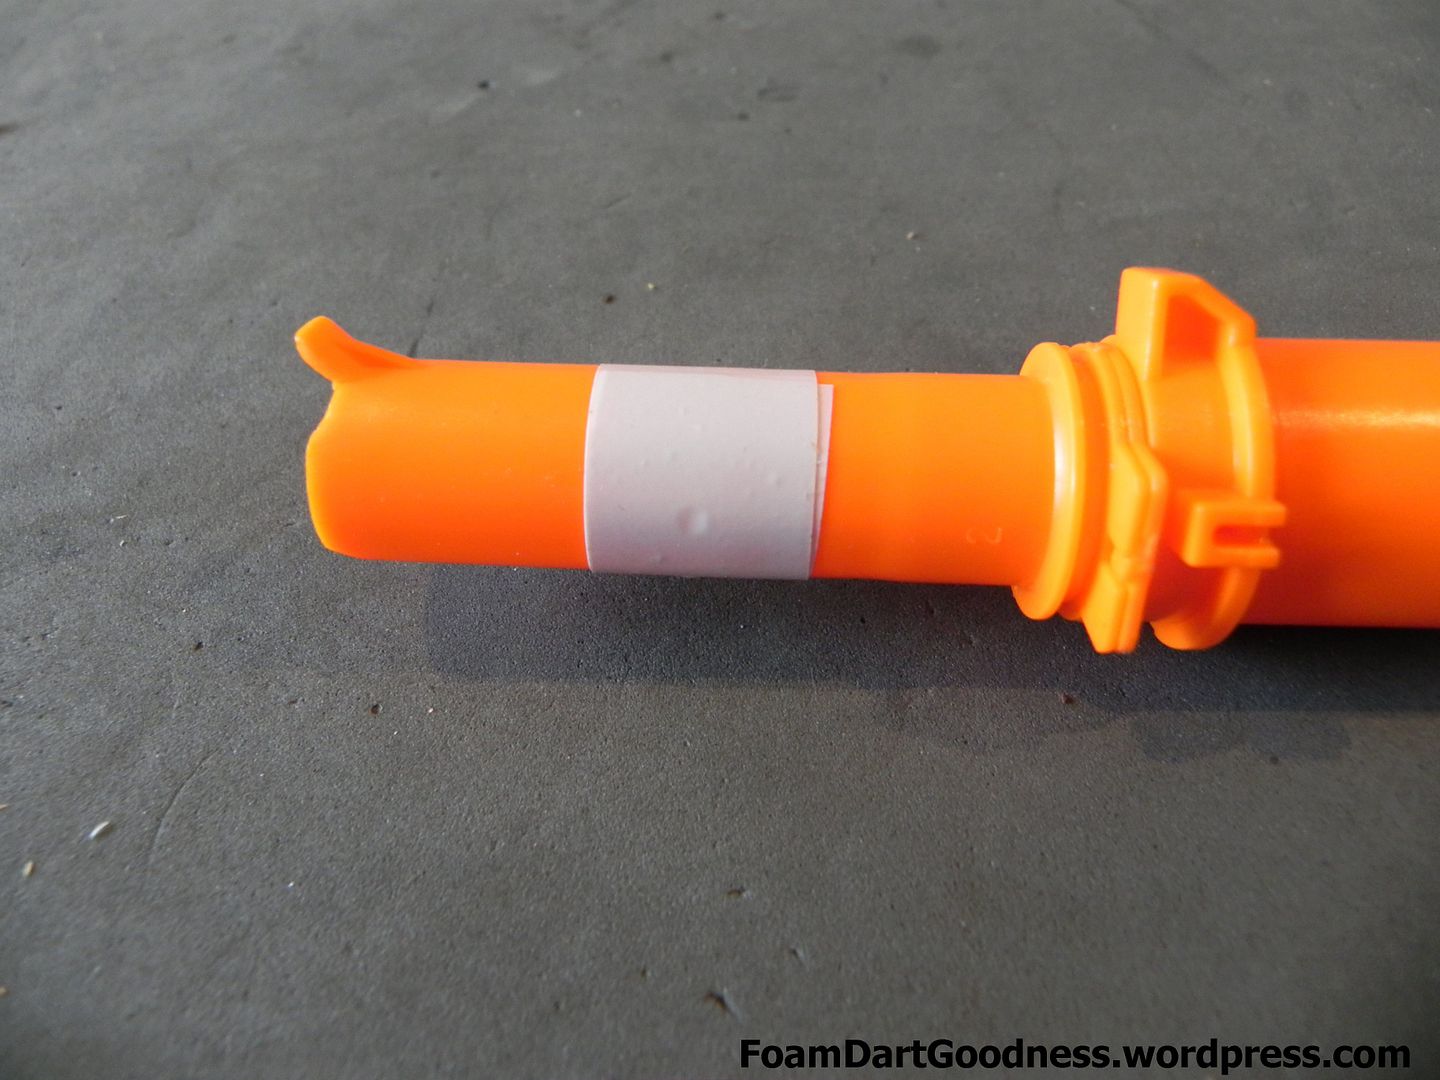
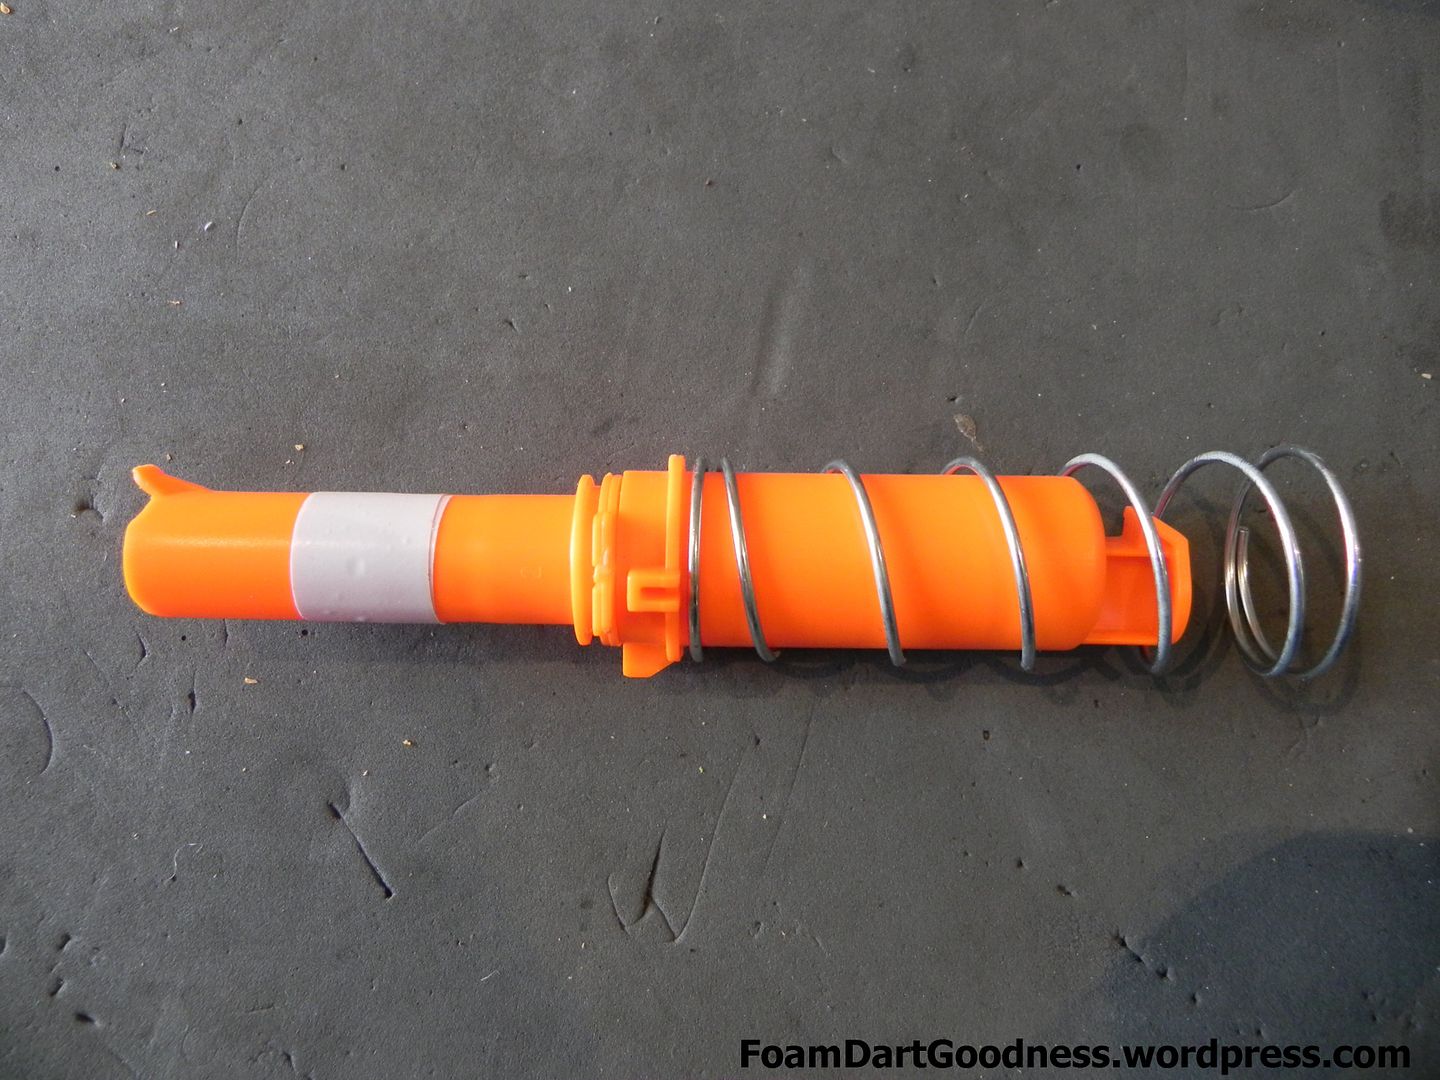
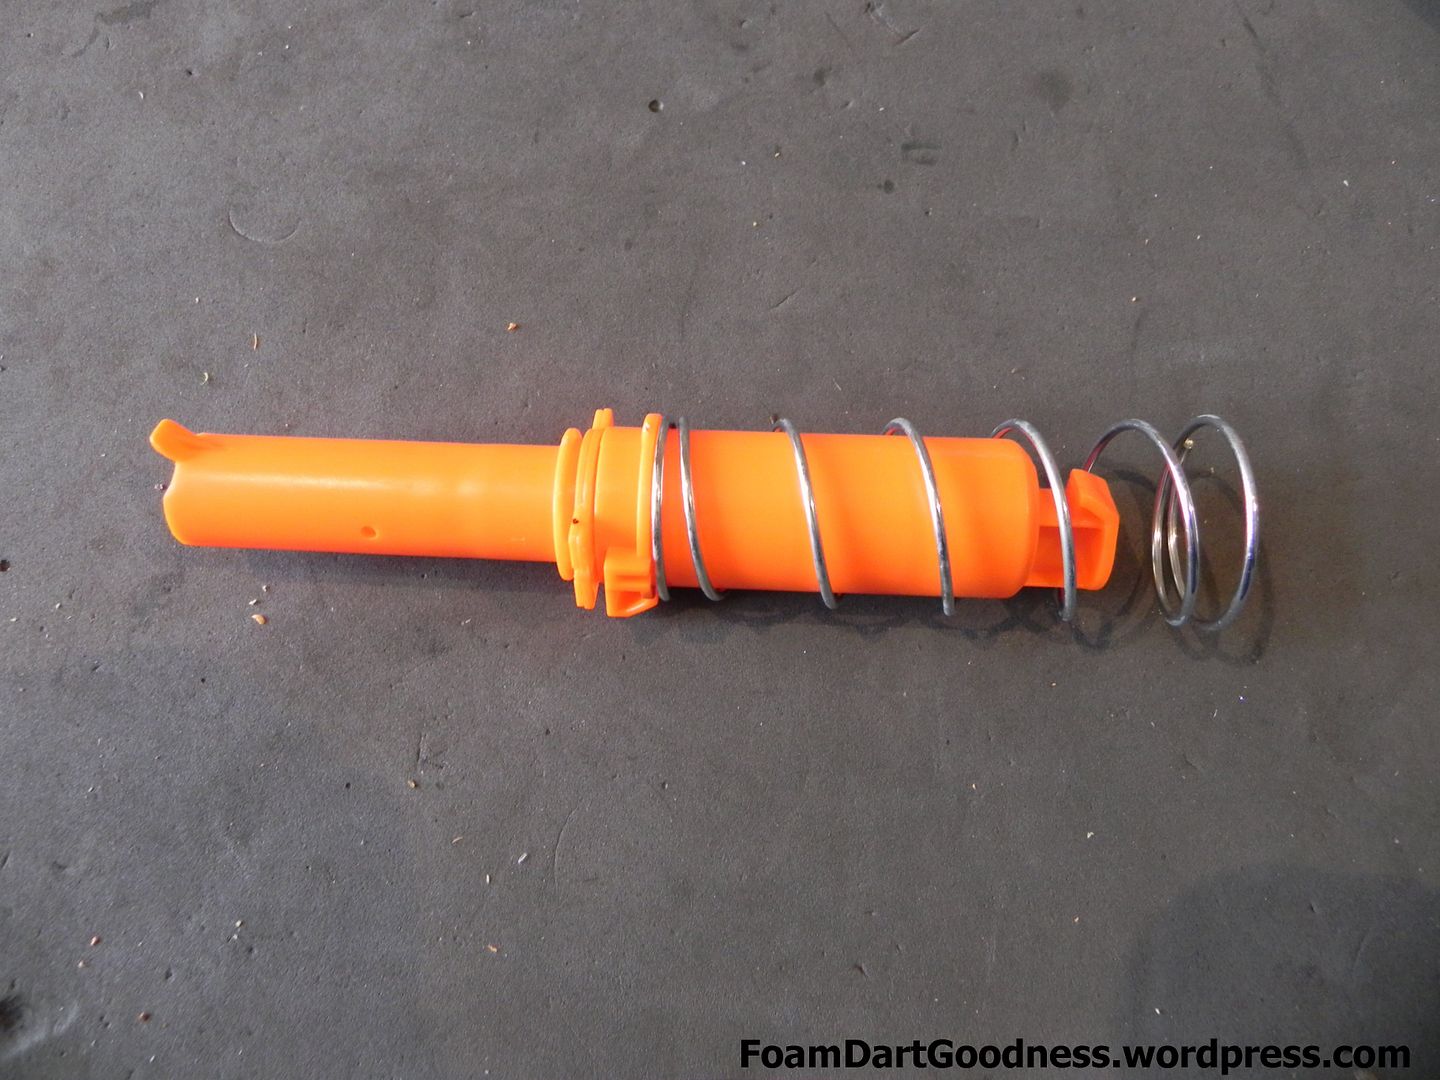
Lift the first plunger assembly out of the blaster.